
自定义input组件如何实现拖拽文件上传
更新时间:2023年03月28日 15:23:02 作者:zhlCool
这篇文章主要介绍了自定义input组件如何实现拖拽文件上传问题,具有很好的参考价值,希望对大家有所帮助。如有错误或未考虑完全的地方,望不吝赐教
自定义input组件实现拖拽文件上传
vue部分
<tag-input
 id="uploadTag"
 ref="uploadTag"
 v-model="fileNameList"
 size="small"
 @input="removeFile"
></tag-input>
逻辑部分
页面加载时监听拖拽事件,监听后将文件放置下发fileList参数列表中
  mounted() {
    setTimeout(() => {
      this.$nextTick(() => {
        if (this.$refs.uploadTag) {
          let dropEle = this.$refs.uploadTag.$el

          // 禁止拖拽文件后打开文件
          dropEle.addEventListener('drop', e => {
            e.preventDefault();
            e.stopPropagation();
          }, false)

          dropEle.addEventListener('dragover', e => {
            e.preventDefault();
            e.stopPropagation();
          }, false)

          dropEle.addEventListener('dragleave', e => {
            e.preventDefault();
            e.stopPropagation();
          }, false)

          // 处理拖拽文件的逻辑
          dropEle.addEventListener('drop', e => this.watchFileUpload(e))
        }
      })
    }, 1000)
  }
// 拖拽上传
private watchFileUpload(e) {
e.preventDefault();
e.stopPropagation();
var df = e.dataTransfer;
var dropFiles = []; // 拖拽的文件,会放到这里
var dealFileCnt = 0; // 读取文件是个异步的过程,需要记录处理了多少个文件了
var allFileLen = df.files.length; // 所有的文件的数量,给非Chrome浏览器使用的变量
// 检测是否已经把所有的文件都遍历过了
function checkDropFinish() {
dealFileCnt++;
}
if (df.items !== undefined) {
// Chrome拖拽文件逻辑
for (var i = 0; i < df.items.length; i++) {
var item = df.items[i];
if (item.kind === "file" && item.webkitGetAsEntry().isFile) {
var file = item.getAsFile();
dropFiles.push(file);
}
}
} else {
// 非Chrome拖拽文件逻辑
for (var i = 0; i < allFileLen; i++) {
var dropFile = df.files[i];
if (dropFile.type) {
dropFiles.push(dropFile);
checkDropFinish();
} else {
try {
var fileReader = new FileReader();
fileReader.readAsDataURL(dropFile.slice(0, 3));
fileReader.addEventListener('load', function (e) {
console.log(e, 'load');
dropFiles.push(dropFile);
checkDropFinish();
}, false);
fileReader.addEventListener('error', function (e) {
console.log(e, 'error,不可以上传文件夹');
checkDropFinish();
}, false);
} catch (e) {
console.log(e, 'catch error,不可以上传文件夹');
checkDropFinish();
}
}
}
}
dropFiles.forEach(item => {
this.fileList.push(item)
})
this.fileNameList = this.fileList.map(item => {
if (item.name) {
return item.name
}
if (item.fileName) {
return item.fileName
}
});
}删除当前文件
  // 附件删除 下拉框
  private removeFile(nameList, name) {
    // 记录删除的附件信息
    this.fileList.splice(this.fileList.findIndex(item => item.fileName === name || item.name === name), 1)
    this.fileNameList = this.fileList.map(item => item.name || item.fileName);
  }
封装的tag-input组件
<template>
  <div
    class="yh-input-tag input-tag-wrapper"
    ref="InputTag"
    @click="foucusTagInput"
  >
    <el-tag
      v-for="(tag, idx) in innerTags"
      :key="tag"
      :size="size"
      :closable="!readonly"
      :disable-transitions="false"
      @close="remove(tag, idx)"
      >{{ tag }}</el-tag
    >
    <input
      :readonly="readonly || readonlyIpt"
      class="tag-input"
      :class="[size ? 'yh-input-tag--' + size : '']"
      :style="widthStyle"
      :placeholder="isplaceholder"
      v-model="newTag"
      @keydown.delete.stop="removeLastTag"
      @keydown="addNew"
      @blur="blurTagInput"
    />
  </div>
</template>

<script>

export default {
  name: 'InputTag',
  props: {
    value: {
      type: Array,
      default: () => []
    },
    addTagOnKeys: {
      type: Array,
      default: () => [13, 188, 9]
    },
    readonly: {
      type: Boolean,
      default: false
    },
    // 输入框只读
    readonlyIpt: {
      type: Boolean,
      default: false
    },
    size: String,
    placeholder: {
      type: String,
      default: '请输入'
    }
  },
  inject: {
    elForm: {
      default: ''
    },
    elFormItem: {
      default: ''
    }
  },
  data () {
    return {
      newTag: '',
      innerTags: [...this.value],
      currentTag: null,
      widthStyle: {
        minWidth: '10px'
      }
    }
  },
  computed: {
    isplaceholder () {
      let str = ''
      if(this.value?.length > 0) {
        this.$nextTick(() => {
          if (this.$refs.yhInputTag) {
            this.$refs.InputTag.style.padding = '0'
          }
        })
        str = ''
      } else {
        this.$nextTick(() => {
          if (this.$refs.yhInputTag) {
            this.$refs.InputTag.style.padding = '0 15px'
          }
        })
        str = this.placeholder
      }
      return str
    },
    // 表单禁用关联
    inputDisabled() {
      return this.disabled || (this.elForm || {}).disabled;
    }
  },
  watch: {
    value: {
      handler(newVal, oldVal) {
        if (this.elForm && oldVal !== undefined && newVal !== oldVal) {
          this.elForm.validateField(this.elFormItem.prop)
        }
        if (newVal) {
          this.innerTags = [...newVal]
        }
      },
      deep: true,
      immediate: true
    }
  },
  methods: {
    foucusTagInput () {
      if (this.readonly || this.readonlyIpt || !this.$el.querySelector('.tag-input')) {
        return
      } else {
        this.$el.querySelector('.tag-input').focus()
        this.widthStyle = {
          minWidth: '10px'
        }
      }
    },
    blurTagInput (e) {
      this.addNew(e)
      this.widthStyle = {
        width: '0px'
      }
    },
    addNew (e) {
      if (e && (!this.addTagOnKeys.includes(e.keyCode)) && (e.type !== 'blur')) {
        return
      }
      if (e) {
        e.stopPropagation()
        e.preventDefault()
      }
      let addSuucess = false
      if (this.newTag.includes(',')) {
        this.newTag.split(',').forEach(item => {
        if (this.addTag(item.trim())) {
            addSuucess = true
          }
        })
      } else {
        if (this.addTag(this.newTag.trim())) {
          addSuucess = true
        }
      }
      if (addSuucess) {
        this.tagChange()
        this.newTag = ''
      }
    },
    addTag (tag) {
      tag = tag.trim()
      if (tag && !this.innerTags.includes(tag)) {
        this.innerTags.push(tag)
        return true
      }
      return false
    },
    remove (tag, index) {
      this.innerTags.splice(index, 1)
      this.currentTag = tag
      this.tagChange()
    },
    removeLastTag () {
      if (this.newTag) {
        return
      }
      this.innerTags.pop()
      this.tagChange()
    },
    tagChange () {
      this.$forceUpdate()
      this.$emit('input', JSON.parse(JSON.stringify(this.innerTags)), this.currentTag)
    }
  }
}
</script>

<style scoped>
.input-tag-wrapper {
  position: relative;
  font-size: 14px;
  background-color: #fff;
  background-image: none;
  border-radius: 4px;
  border: 1px solid #DCDFE6;
  box-sizing: border-box;
  color: #575757;
  display: inline-block;
  cursor: text;
  outline: none;
  padding: 0 15px;
  transition: border-color .2s cubic-bezier(.645,.045,.355,1);
  width: 100%;
  line-height: normal;
  &:hover{
    border-color: #C5C6C7;
  }
  &:focus{
    border-color: #d32f2f;
  }
  .el-tag{
    box-sizing: border-box;
    border-color: transparent;
    margin: 2px 0 2px 6px;
    background-color: #f0f2f5;
    display: inline-flex;
    max-width: 100%;
    align-items: center;
  }
}

.tag-input {
  background: transparent;
  border: 0;
  font-size: 14px;
  outline: none;
  padding-left: 0;
  height: 26px;
  &::placeholder {
    color: #C8C9CA;
  }
}
.yh-input-tag--mini{
  height: 26px;
  line-height: 26px;
  .tag {
    height: 16px;
  }
}

.yh-input-tag--small{
  height: 30px;
  line-height: 30px;
  .tag {
    height: 20px;
  }
}

.yh-input-tag--medium{
  height: 34px;
  line-height: 34px;
  .tag {
    height: 24px;
  }
}

// 表单标签选择器必填样式
.el-form-item.is-error .input-tag-wrapper,
.el-form-item.is-error .input-tag-wrapper:focus {
  border-color: #bc1126 !important;
}
</style>
最后实现的效果
![]()
可支持手动拖拽上传
多图上传组件vue
小编参加的第一个项目,就遇到了麻烦的多图上传,通过多天的努力,写出了一个多图的组件,希望可以帮助到大家
组件template部分
多图上传按钮+多图上传弹窗+图片上的预览删除图标
<template>
<div>
<div class="many">
<el-form-item>
<div class="upload-item">
<el-button type="primary" @click="uploadFile">多图上传</el-button>
</div>
</el-form-item>
</div>
<el-dialog title="图片预览" :visible.sync="dialogImgVisible" width="50%">
<img :src="dialogImageUrl" alt="" class="previewImg" />
</el-dialog>
<!--多图上传弹窗界面-->
<el-dialog :title="'上传'" :visible.sync="dialogFormVisible" custom-class="pub_dialog" >
<el-form style="width: 750px;height: 380px">
<!--内容部分 -->
<el-form-item><!---->
<div style="display: flex;justify-content: center">
<label>选择文件:</label>
<div>
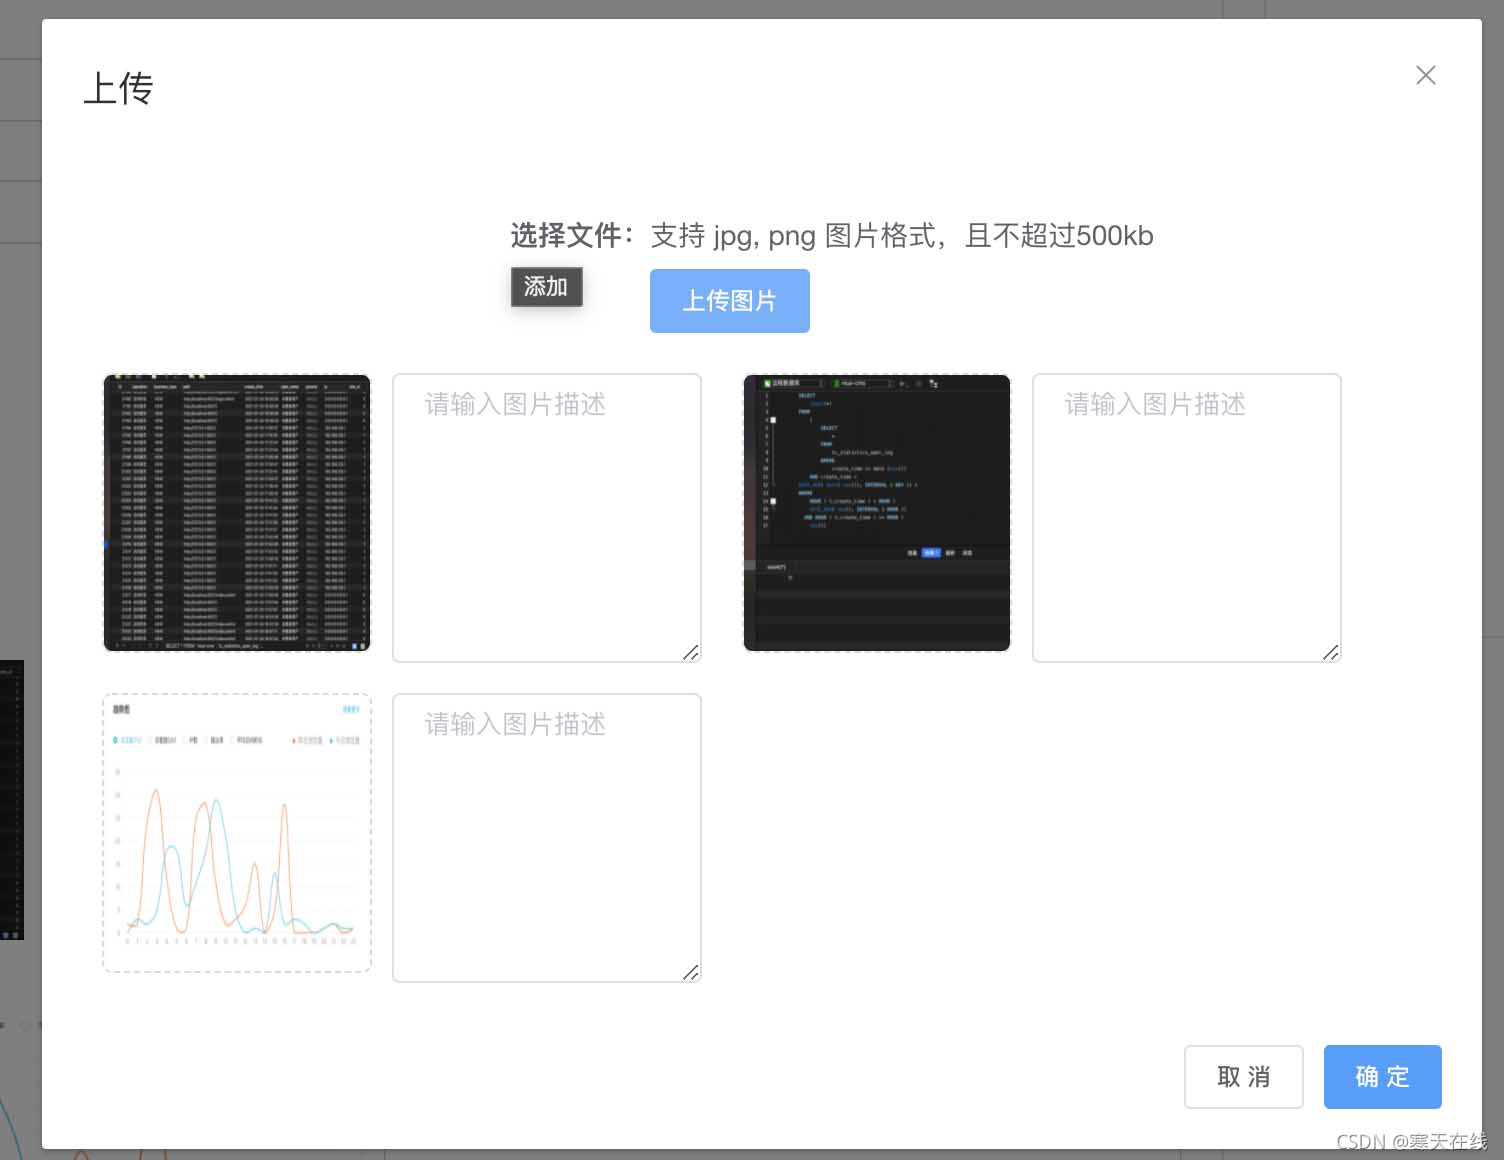
<div class="desc">支持 jpg, png 图片格式,且不超过500kb</div>
<el-upload
:action="UPLOAD_URL"
:headers="authorToken"
:auto-upload="true"
accept="image/jpg,image/png,image/jpeg"
:on-success="handleSuccess"
:before-upload="handleBeforeUpload"
:show-file-list="false"
multiple
:limit="10"
:on-exceed="handleExceed"
:file-list="fileList">
<el-button size="small" type="primary">上传图片</el-button>
</el-upload>
</div>
</div>
<div class="fileList" style="margin-top: 10px;display: flex;flex-wrap: wrap;">
<div class="item" v-for="(item,index) in images" :key="index">
<img :src="item.url" alt="" :key="index" style=" width: 45%;height: 100%" class = "imgList">
<div class="scissor-icon">
<i class="el-icon-scissors" @click="changeFile(item)"></i>
</div>
<div class="delete-icon">
<i class="el-icon-delete" @click="handleRemove(item)"></i>
</div>
<div class="search-icon">
<i class="el-icon-search" @click="handlePreview(item)"></i>
</div>
<el-input
type="textarea"
:autosize="{ minRows: 7, maxRows: 7}"
placeholder="请输入图片描述"
v-model="item.manyDescription"
:key="index"
style=" width: 55%;height: 100%;margin-left: 10px">
</el-input>
</div>
</div>
</el-form-item>
</el-form>
<div slot="footer" class="dialog-footer">
<el-button @click="dialogFormVisible = false">取 消</el-button>
<el-button type="primary" @click="closeDialog">确 定</el-button>
</div>
</el-dialog>
</div>
</template>
组件script部分
1.变量数据区域
代码如下(示例):
<script>
export default {
  name: "UploadMany",
  data() {
    return {
      textarea:'',
      dialogImageUrl: '',
      dialogImgVisible: false,
      dialogVisible: false,
      fileList: [],
      imgs: [],
      images: [],
      UPLOAD_URL: "/v1/admin/common/upload",//这里填写你的后端上传接口地址
      authorToken: {
        Authorization: 'Bearer ' + sessionStorage.getItem("token"),
        siteId:sessionStorage.getItem("siteId")
      },
      param: {
        token: ''
      },
      fileNum: 0,
      num: 0,
      dialogFormVisible: false,//添加表单弹出框是否显示
      dialogChangeVisible: false,
      picsList: [],  //页面显示的数组
      // 防止重复提交
      loading: true,
    }
  },
2.方法区域
代码如下(示例):
methods: {
	//删除方法
    handleRemove(file) {
      console.log(file)
      // 1.获取将要删除的图片的临时路径
      const filePath = file.url
      // 2.从数组中,找到这个图片对应的索引值
      const i = this.imgs.findIndex((x) => x.url === filePath)
      // 3.调用数组的 splice 方法,把图片信息对象,从 pics 数组中移除
      this.imgs.splice(i, 1)
      console.log(this.imgs)
    },
    //预览方法
    handlePreview(file) {
      console.log(file);
      this.dialogImageUrl = file.url;
      this.dialogImgVisible = true;
    },
    //限制上传文件个数
    handleExceed(files, fileList) {
      this.$message.warning(`当前限制选择 10 个文件,本次选择了 ${files.length} 个文件,共选择了 ${files.length + fileList.length} 个文件`);
    },
    //上传成功后
    handleSuccess(response, fileList) {
      console.log(response);
      console.log(fileList)
      this.loading = false
      if(response.code === 200){
        this.imgs.push({name: response.data.resourceName, url: response.data.resourceUrl, manyDescription: '', manyResourceId: response.data.id})
        this.num++;
        if(this.num == this.fileNum){
          for(let i = 0; i < this.num ; i++){
            this.$emit('getManyImg', this.imgs[i])
          }
          this.num = 0;
          this.fileNum = 0;
          this.images = this.imgs;
          this.imgs = [];
        }
      }else{
        this.$message.error('上传失败');
      }
    },

    handleBeforeUpload(file) {
      // 这里做可以做文件校验操作
      const isImg = /^image\/\w+$/i.test(file.type)
      if (!isImg && this.fileType == 'image/*') {
        this.$message.error('只能上传 JPG、PNG、GIF 格式!')
        return false
      }
      this.fileNum++;
    },

    uploadFile(){
      this.dialogFormVisible = true;
      this.loading = false;
    },

    closeDialog(){
      this.dialogFormVisible = false;
      this.imgs = [];
      this.images = [];
    }

  }
}
组件使用
1.在你需要用到的界面vue里导入组件
import UploadMany from '@/components/upload/UploadMany';
import {getToken} from '@/utils/auth';
export default {
  name: "TestEditor",
  components: {
    UploadMany,
  },
2.template部分使用组件
            <el-col :span="24">
              <el-form-item prop="manyImg" label="多图上传:" :label-width="imgWidth" class="form">
                <upload-many v-model="dialogForm.manyImg" @getManyImg="getManyImg" ></upload-many>
                <div class="fileList" style="margin-top: 10px;display: flex;flex-wrap: wrap;">
                  <div class="item" v-for="(itemPhoto,indexPhoto) in dialogForm.images" :key="indexPhoto">
                    <div class="item-left" style="position: relative">
                      <img :src="itemPhoto.url" alt="" :key="indexPhoto" class = "imgList">
                     <div class="item-bottom">
                       <div class="search-icon">
                         <i class="el-icon-search" @click="handlePreview(itemPhoto)"></i>
                       </div>
                       <div class="delete-icon">
                         <i class="el-icon-delete" @click="handleRemove(itemPhoto)"></i>
                       </div>
                     </div>
                    </div>
                    <el-input
                        type="textarea"
                        :autosize="{ minRows: 7, maxRows: 7}"
                        placeholder="请输入图片描述"
                        v-model="itemPhoto.manyDescription"
                        style=" width: 55%;height: 100%;margin-left: 10px">
                    </el-input>
                  </div>
                </div>
              </el-form-item>
            </el-col>
3.方法部分
    getManyImg(imgs) {
      this.dialogForm.images.push(imgs);
      console.log(this.dialogForm.images)
    },
        handleRemove(file) {
      console.log(file)
      // 1.获取将要删除的图片的临时路径
      const filePath = file.url
      // 2.从数组中,找到这个图片对应的索引值
      const i = this.dialogForm.images.findIndex((x) => x.url === filePath)
      // 3.调用数组的 splice 方法,把图片信息对象,从 pics 数组中移除
      this.dialogForm.images.splice(i, 1)
    },
    //预览图片
    handlePreview(file) {
      console.log(file);
      this.dialogImageUrl = file.url;
      this.dialogImgVisible = true;
    },
组件完整代码(含裁剪组件,不需要请手动删除)
<template>
<div>
    <div class="many">
      <el-form-item>
        <div class="upload-item">
          <el-button type="primary" @click="uploadFile">多图上传</el-button>
        </div>
      </el-form-item>
    </div>

  <!--裁剪弹窗-->
  <!-- vueCropper 剪裁图片实现-->
  <el-dialog title="图片剪裁" :visible.sync="dialogChangeVisible" append-to-body>
    <div class="cropper-content">
      <div class="cropper" style="text-align:center">
        <vueCropper
            ref="cropper"
            :img="option.img"
            :outputSize="option.size"
            :outputType="option.outputType"
            :info="true"
            :full="option.full"
            :canMove="option.canMove"
            :canMoveBox="option.canMoveBox"
            :original="option.original"
            :autoCrop="option.autoCrop"
            :fixed="option.fixed"
            :fixedNumber="option.fixedNumber"
            :centerBox="option.centerBox"
            :infoTrue="option.infoTrue"
            :fixedBox="option.fixedBox"
        ></vueCropper>
      </div>
    </div>
    <div slot="footer" class="dialog-footer">
      <el-button @click="dialogChangeVisible = false">取 消</el-button>
      <el-button type="primary" @click="finish" :loading="loading">确认</el-button>
    </div>
  </el-dialog>

  <el-dialog title="图片预览" :visible.sync="dialogImgVisible" width="50%">
    <img :src="dialogImageUrl" alt="" class="previewImg" />
  </el-dialog>


  <!--多图上传弹窗界面-->
<el-dialog :title="'上传'" :visible.sync="dialogFormVisible" custom-class="pub_dialog" >
  <el-form style="width: 750px;height: 380px">
    <!--内容部分  -->
    <el-form-item><!---->
        <div style="display: flex;justify-content: center">
          <label>选择文件:</label>
          <div>
            <div class="desc">支持 jpg, png 图片格式,且不超过500kb</div>
            <el-upload
                :action="UPLOAD_URL"
                :headers="authorToken"
                :auto-upload="true"
                accept="image/jpg,image/png,image/jpeg"
                :on-success="handleSuccess"
                :before-upload="handleBeforeUpload"
                :show-file-list="false"
                multiple
                :limit="10"
                :on-exceed="handleExceed"
                :file-list="fileList">
              <el-button size="small" type="primary">上传图片</el-button>
            </el-upload>
          </div>
        </div>

          <div class="fileList" style="margin-top: 10px;display: flex;flex-wrap: wrap;">
            <div class="item" v-for="(item,index) in images" :key="index">
              <img :src="item.url" alt="" :key="index" style=" width: 45%;height: 100%" class = "imgList">
              <div class="scissor-icon">
                <i class="el-icon-scissors" @click="changeFile(item)"></i>
              </div>
<!--                <div class="refresh-icon">-->
<!--                  <i class="el-icon-refresh" @click="handleRemove()"></i>-->
<!--                </div>-->
              <div class="delete-icon">
                <i class="el-icon-delete" @click="handleRemove(item)"></i>
              </div>
              <div class="search-icon">
                <i class="el-icon-search" @click="handlePreview(item)"></i>
              </div>
              <el-input
                  type="textarea"
                  :autosize="{ minRows: 7, maxRows: 7}"
                  placeholder="请输入图片描述"
                  v-model="item.manyDescription"
                  :key="index"
                  style=" width: 55%;height: 100%;margin-left: 10px">
              </el-input>
            </div>
          </div>
    </el-form-item>
  </el-form>
  <div slot="footer" class="dialog-footer">
    <el-button @click="dialogFormVisible = false">取 消</el-button>
    <el-button type="primary" @click="closeDialog">确 定</el-button>
  </div>
</el-dialog>
</div>
</template>
<script>
import VueCropper from 'vue-cropper'
import Vue from "vue";
Vue.use(VueCropper)
export default {
  name: "UploadMany",
  data() {
    return {
      textarea:'',
      dialogImageUrl: '',
      dialogImgVisible: false,
      dialogVisible: false,
      fileList: [],
      imgs: [],
      images: [],
      UPLOAD_URL: "/v1/admin/common/upload",
      authorToken: {
        Authorization: 'Bearer ' + sessionStorage.getItem("token"),
        siteId:sessionStorage.getItem("siteId")
      },
      param: {
        token: ''
      },
      fileNum: 0,
      num: 0,
      dialogFormVisible: false,//添加表单弹出框是否显示
      dialogChangeVisible: false,
      // 裁剪组件的基础配置option
      option: {
        img: '', // 裁剪图片的地址
        info: true, // 裁剪框的大小信息
        outputSize: 0.8, // 裁剪生成图片的质量
        outputType: 'jpeg', // 裁剪生成图片的格式
        canScale: false, // 图片是否允许滚轮缩放
        autoCrop: true, // 是否默认生成截图框
        // autoCropWidth: 300, // 默认生成截图框宽度
        // autoCropHeight: 200, // 默认生成截图框高度
        fixedBox: true, // 固定截图框大小 不允许改变
        fixed: true, // 是否开启截图框宽高固定比例
        fixedNumber: [7, 5], // 截图框的宽高比例
        full: true, // 是否输出原图比例的截图
        canMoveBox: false, // 截图框能否拖动
        original: false, // 上传图片按照原始比例渲染
        centerBox: false, // 截图框是否被限制在图片里面
        infoTrue: true // true 为展示真实输出图片宽高 false 展示看到的截图框宽高
      },
      picsList: [],  //页面显示的数组
      // 防止重复提交
      loading: true,
    }
  },
  methods: {
    handleRemove(file) {
      console.log(file)
      // 1.获取将要删除的图片的临时路径
      const filePath = file.url
      // 2.从数组中,找到这个图片对应的索引值
      const i = this.imgs.findIndex((x) => x.url === filePath)
      // 3.调用数组的 splice 方法,把图片信息对象,从 pics 数组中移除
      this.imgs.splice(i, 1)
      console.log(this.imgs)
    },
    handlePreview(file) {
      console.log(file);
      this.dialogImageUrl = file.url;
      this.dialogImgVisible = true;
    },
    handleExceed(files, fileList) {
      this.$message.warning(`当前限制选择 10 个文件,本次选择了 ${files.length} 个文件,共选择了 ${files.length + fileList.length} 个文件`);
    },
    handleSuccess(response, fileList) {
      console.log(response);
      console.log(fileList)
      this.loading = false
      if(response.code === 200){
        this.imgs.push({name: response.data.resourceName, url: response.data.resourceUrl, manyDescription: '', manyResourceId: response.data.id})
        this.num++;
        if(this.num == this.fileNum){
          for(let i = 0; i < this.num ; i++){
            this.$emit('getManyImg', this.imgs[i])
          }
          this.num = 0;
          this.fileNum = 0;
          this.images = this.imgs;
          this.imgs = [];
        }
      }else{
        this.$message.error('上传失败');
      }
    },
    // 裁剪按钮   限制图片大小
    changeFile(file) {
      console.log(file)
      this.option.img = file.url
      console.log(this.option.img)
      this.dialogChangeVisible = true
    },
    // 点击裁剪
    finish() {
      this.$refs.cropper.getCropBlob((data) => {
        console.log(data)
        console.log(data.size)
        this.$data.dialogChangeVisible = false
        this.axios.post("/v1/admin/common/upload",data).then((res) => {
          let code = res.data.code;
          if (code == 200) {
            this.$data.dialogFormVisible = false
            this.$message.success("上传成功");
          }
        }).catch((error) => {
          console.log(error);
        });
      })
    },
    handleBeforeUpload(file) {
      // 这里做可以做文件校验操作
      const isImg = /^image\/\w+$/i.test(file.type)
      if (!isImg && this.fileType == 'image/*') {
        this.$message.error('只能上传 JPG、PNG、GIF 格式!')
        return false
      }
      this.fileNum++;
    },

    uploadFile(){
      this.dialogFormVisible = true;
      this.loading = false;
    },
    closeDialog(){
      this.dialogFormVisible = false;
      this.imgs = [];
      this.images = [];
    }

  }
}
</script>
<style lang="scss" scoped>
.el-dialog{
  width: 50%;
}
.item {
  width: 300px;
  height: 140px;
  position: relative;
  display: flex;
  margin: 10px;

  .delete-icon {
    display: none;
  }
  .refresh-icon {
    display: none;
  }
  .search-icon {
    display: none;
  }
  .scissor-icon {
    display: none;
  }

  &:hover {
    .scissor-icon {
      display: block;
      position: absolute;
      width: 35px;
      height: 40px;
      line-height: 40px;
      left: 100px;
      top: 100px;
      background: rgba(59, 60, 61, 0.5);
      // box-sizing: content-box;
      z-index: 999;
      cursor: pointer;
      text-align: center;
      i {
        margin: 8px 10px 0 0;
        display: block;
        font-size: 24px;
        color: white;
      }
    }
    .delete-icon {
      display: block;
      position: absolute;
      width: 35px;
      height: 40px;
      left: 0px;
      top: 100px;
      background: rgba(59, 60, 61, 0.5);
      // box-sizing: content-box;
      z-index: 999;
      cursor: pointer;
      text-align: center;
      i {
        margin: 8px 10px 0 10px;
        display: block;
        font-size: 24px;
        color: white;
      }
    }
    .refresh-icon {
      display: block;
      position: absolute;
      width: 35px;
      height: 40px;
      left: 35px;
      top: 100px;
      background: rgba(59, 60, 61, 0.5);
      // box-sizing: content-box;
      z-index: 999;
      cursor: pointer;
      text-align: center;
      i {
        margin: 8px 10px 0 0;
        display: block;
        font-size: 24px;
        color: white;
      }
    }
    .search-icon {
      display: block;
      position: absolute;
      width: 65px;
      height: 40px;
      left: 35px;
      top: 100px;
      background: rgba(59, 60, 61, 0.5);
      // box-sizing: content-box;
      z-index: 999;
      cursor: pointer;
      text-align: center;
      i {
        margin: 8px 10px 0 10px;
        display: block;
        font-size: 24px;
        color: white;
      }
    }

  }
}
.imgList {
  border: 1px dashed #d9d9d9;
  border-radius: 5px;
  box-sizing: border-box;
  width: 180px;
  height: 180px;
  margin-top: 0px;
&:hover {
   border: 1px dashed #409eff;
 }
}

// 截图
.cropper-content {
  .cropper {
    width: auto;
    height: 300px;
  }
}

.previewImg {
  width: 50%;
  height: 100%
}
</style>
效果展示
总结
以上为个人经验,希望能给大家一个参考,也希望大家多多支持脚本之家。
相关文章
 本篇文章主要介绍了vue使用watch 观察路由变化,重新获取内容 ,具有一定的参考价值,感兴趣的小伙伴们可以参考一下。2017-03-03
 这篇文章主要介绍了Vue组件封装方案实现,我们将从分析组件封装的优势开始,然后依次介绍 vue.js 的基本概念,以及如何创建、封装和使用自定义组件2023-03-03
 这篇文章主要介绍了Vue2中配置Cesium全过程,具有很好的参考价值,希望对大家有所帮助。如有错误或未考虑完全的地方,望不吝赐教2023-05-05
 这篇文章主要介绍了vue中axios请求的封装,文中通过示例代码介绍的非常详细,对大家的学习或者工作具有一定的参考学习价值,需要的朋友们下面随着小编来一起学习学习吧2019-04-04
vue-cli 使用axios的操作方法及整合axios的多种方法
这篇文章主要介绍了vue-cli 使用axios的操作方法及整合axios的多种方法,vue-cli整合axios的多种方法,小编一一给大家列出来了,大家根据自身需要选择,需要的朋友可以参考下2018-09-09
Vue使用v-viewer插件实现图片预览和缩放和旋转等功能(推荐)
v-viewer是一个基于viewerjs封装的vue图片预览组件,有预览缩放拉伸旋转切换拖拽等功能,支持配置化,这篇文章主要介绍了Vue使用v-viewer插件实现图片预览和缩放和旋转等功能,需要的朋友可以参考下2023-02-02 这篇文章主要介绍了如何在 Vue 表单中处理图片,帮助大家更好的理解和使用vue框架,感兴趣的朋友可以了解下2021-01-01
 这篇文章主要介绍了TypeScript在vue中的使用方式,具有很好的参考价值,希望对大家有所帮助。如有错误或未考虑完全的地方,望不吝赐教2023-02-02
 这篇文章主要介绍了Vue前端打包的详细流程,下面文章围绕Vue前端打包的相关资料展开详细内容,需要的小伙伴可以参考一下,希望对大家有所帮助2021-11-11
解决vue admin element noCache设置无效的问题
今天小编就为大家分享一篇解决vue admin element noCache设置无效的问题,具有很好的参考价值,希望对大家有所帮助。一起跟随小编过来看看吧2019-11-11


最新评论