
Vue3使用富文本框(wangeditor)的方法总结
更新时间:2024年01月18日 09:45:03 作者:mfxcyh
项目中用到了富文本,选来选去选择了wangeditor,下面这篇文章主要给大家介绍了关于Vue3使用富文本框(wangeditor)的相关资料,文中通过代码介绍的非常详细,需要的朋友可以参考下
毕业涉及中使用到了富文本框,所以学习使用了wangeditor富文本框,现进行总结
1.安装
npm install @wangeditor/editor --save
npm install @wangeditor/editor-for-vue@next --save
2.配置wangeditor组件(src/components/wangeditor.vue)
<template>
  <div style="border: 1px solid #ccc">
    <Toolbar
        style="border-bottom: 1px solid #ccc"
        :editor="editorRef"
        :defaultConfig="toolbarConfig"
        :mode="mode"
    />
    <Editor
        style="min-height: 250px; overflow-y: hidden;"
        v-model="valueHtml"
        :defaultConfig="editorConfig"
        :mode="mode"
        @onCreated="handleCreated"
    />
  </div>
</template>
//script标签中引入
import '@wangeditor/editor/dist/css/style.css' // 引入 css
import { Editor, Toolbar } from '@wangeditor/editor-for-vue'export default {
components: { Editor, Toolbar },
setup(props,{emit}) {
emits: ['select']
// 编辑器实例,必须用 shallowRef
const editorRef = shallowRef()
// 内容 HTML
const valueHtml = ref('')
//配置功能栏
let toolbarConfig = {
toolbarKeys: [
'headerSelect',
'blockquote',
'|',
'bold',
'underline',
'italic',
{
key: 'group-more-style',
title: '更多',
iconSvg:
'<svg viewBox="0 0 1024 1024"><path d="M204.8 505.6m-76.8 0a76.8 76.8 0 1 0 153.6 0 76.8 76.8 0 1 0-153.6 0Z"></path><path d="M505.6 505.6m-76.8 0a76.8 76.8 0 1 0 153.6 0 76.8 76.8 0 1 0-153.6 0Z"></path><path d="M806.4 505.6m-76.8 0a76.8 76.8 0 1 0 153.6 0 76.8 76.8 0 1 0-153.6 0Z"></path></svg>',
menuKeys: ['through', 'code', 'sup', 'sub']
},
'color',
'bgColor',
'|',
'fontSize',
{
key: 'group-justify',
title: '对齐',
iconSvg:
'<svg viewBox="0 0 1024 1024"><path d="M768 793.6v102.4H51.2v-102.4h716.8z m204.8-230.4v102.4H51.2v-102.4h921.6z m-204.8-230.4v102.4H51.2v-102.4h716.8zM972.8 102.4v102.4H51.2V102.4h921.6z"></path></svg>',
menuKeys: ['justifyLeft', 'justifyRight', 'justifyCenter', 'justifyJustify']
},
'todo',
'fontFamily',
{
key: 'group-indent',
title: '缩进',
iconSvg:
'<svg viewBox="0 0 1024 1024"><path d="M0 64h1024v128H0z m384 192h640v128H384z m0 192h640v128H384z m0 192h640v128H384zM0 832h1024v128H0z m0-128V320l256 192z"></path></svg>',
menuKeys: ['indent', 'delIndent']
},
'|',
'emotion',
'insertLink',
'uploadImage',
'insertTable',
'codeBlock',
'divider',
'clearStyle',
'|',
'undo',
'redo',
]
}
const uploadImageList = ref([])
const saveImageList = ref([])
//上传本地图片
function update(file,insertFn) {
let formData = new FormData()
formData.append('file', file)
axios.post('http://localhost:8080/api/file/upload',formData,{
headers: {
'Content-Type': 'multipart/form-data'
}
}).then(res => {
if (res.data.code == 0){
const src = 'http://121.37.0.16:9000/public/'+ res.data.data.fileName[0]
insertFn(src, '百度 logo', src)
}
})
}
function getOnInsertedImage(imageNode){
uploadImageList.value.push(imageNode)
}
//编辑器配置
let editorConfig = {
placeholder: '请输入内容...',
// 所有的菜单配置,都要在 MENU_CONF 属性下
MENU_CONF: {
insertImage:{
onInsertedImage: getOnInsertedImage()
},
// 配置上传图片
uploadImage: {
customUpload: update
}
}
}
// 组件销毁时,也及时销毁编辑器
onBeforeUnmount(() => {
const editor = editorRef.value
if (editor == null) return
editor.destroy()
})
function copyObject(obj){
return JSON.parse(JSON.stringify(obj));
}
const handleCreated = (editor) => {
editorRef.value = editor // 记录 editor 实例,重要!
saveImageList.value = editor.getElemsByType('image')
uploadImageList.value = copyObject(saveImageList.value)
console.log('created', editor)
}
watch(() => valueHtml.value,()=>{
//当编辑器的内容发生变化时,把值传给父组件
emit('select', valueHtml.value)
})
const handleChange = (editor) => { console.log('change:', editor.children) }
const handleDestroyed = (editor) => { console.log('destroyed', editor) }
const handleFocus = (editor) => { console.log('focus', editor) }
const handleBlur = (editor) => { console.log('blur', editor) }
const customAlert = (info, type) => { alert(`【自定义提示】${type} - ${info}`) }
const customPaste = (editor, event, callback) => {
console.log('ClipboardEvent 粘贴事件对象', event)
// const html = event.clipboardData.getData('text/html') // 获取粘贴的 html
// const text = event.clipboardData.getData('text/plain') // 获取粘贴的纯文本
// const rtf = event.clipboardData.getData('text/rtf') // 获取 rtf 数据(如从 word wsp 复制粘贴)
// 自定义插入内容
editor.insertText('xxx')
// 返回 false ,阻止默认粘贴行为
event.preventDefault()
callback(false) // 返回值(注意,vue 事件的返回值,不能用 return)
// 返回 true ,继续默认的粘贴行为
// callback(true)
}
//父组件调用子组件的方法清空编辑器内容
const abc =function (){
valueHtml.value = ''
}
//暴露该方法,defineExpose要引入
defineExpose({
abc
})
return {
editorRef,
valueHtml,
mode: 'default', // 或 'simple'
toolbarConfig,
editorConfig,
handleCreated,
handleChange,
handleDestroyed,
handleFocus,
handleBlur,
customAlert,
customPaste,
abc,
};
}
}3.父组件中
//引入
import WangEditor from '../../../components/WangEditor.vue'

//注册
components: {
    WangEditor
},
<a-form-model-item :wrapper-col="{ offset: 2, span: 24 }" name="introduction">
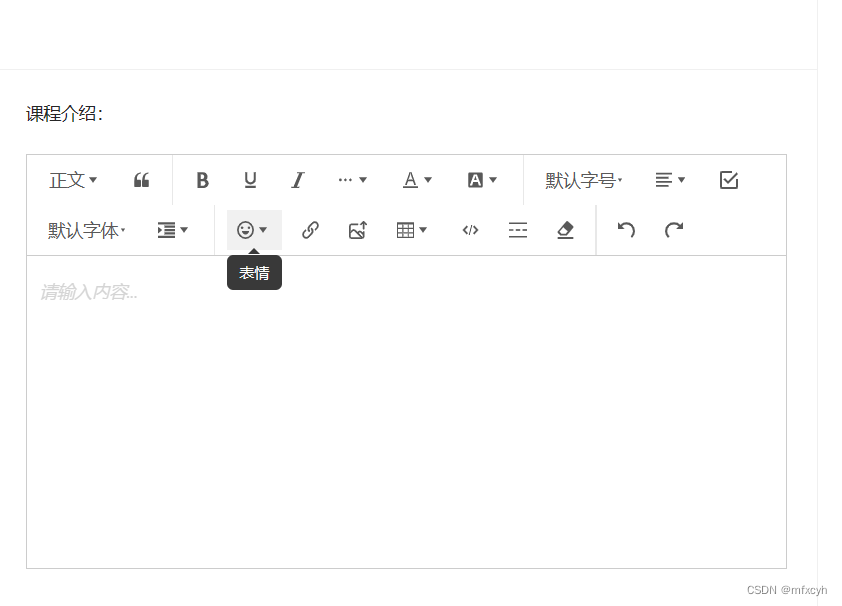
<div>课程介绍:</div><br>
<WangEditor
class="WangEditor"
@select="getRich"
ref="childrenRef"
/>
</a-form-model-item> //当编辑器的内容更新时,获取该值
const getRich = function (value){
state.introduction = value
console.log(value)
}
//获取dom元素
const childrenRef = ref(null)
······
//调用子组件的方法清空编辑器内容
childrenRef.value.abc()总结
到此这篇关于Vue3使用富文本框(wangeditor)的文章就介绍到这了,更多相关Vue3使用富文本框wangeditor内容请搜索脚本之家以前的文章或继续浏览下面的相关文章希望大家以后多多支持脚本之家!
相关文章
 分页功能是常见的需求之一,本文主要介绍了Vue前端利用slice()方法实现分页器,文中通过示例代码介绍的非常详细,对大家的学习或者工作具有一定的参考学习价值,需要的朋友们下面随着小编来一起学习学习吧2023-07-07
 这篇文章主要介绍了Vue如何调用接口请求头增加参数,具有很好的参考价值,希望对大家有所帮助。如有错误或未考虑完全的地方,望不吝赐教2023-01-01
 这篇文章主要介绍了Vue如何实现利用vuex永久储存数据问题,具有很好的参考价值,希望对大家有所帮助。如有错误或未考虑完全的地方,望不吝赐教2023-04-04
vue 如何添加全局函数或全局变量以及单页面的title设置总结
本篇文章主要介绍了vue 如何添加全局函数或全局变量以及单页面的title设置总结,非常具有实用价值,需要的朋友可以参考下2017-06-06 Effect几乎是Vue3.0中最重要的一个功能了,计算属性监听函数都是基于effect实现的,下面这篇文章主要给大家介绍了关于vue3中effect函数到底是什么的相关资料,文中通过实例代码介绍的非常详细,需要的朋友可以参考下2023-06-06
 moment是一款多语言支持的日期处理类库, 在vue中如何使用呢?这篇文章主要给大家介绍了关于vue之moment使用的相关资料,需要的朋友可以参考下2021-05-05
 这篇文章主要介绍了Vue项目引进ElementUI组件的方法,本文分步骤给大家介绍的非常详细,具有一定的参考借鉴价值 ,需要的朋友可以参考下2018-11-11
 在vue中,有时候你需要对data中的数据进行处理,或者对抓取的数据进行处理之后再挂载呈现到标签中,这时候你就需要计算属性了,当然看到这里你可能还是不了解那下面我举几个实例并附代码解释2023-02-02
vue2之响应式双向绑定,在对象或数组新增属性页面无响应的情况
这篇文章主要介绍了vue2之响应式双向绑定,在对象或数组新增属性页面无响应的情况及解决,具有很好的参考价值,希望对大家有所帮助。如有错误或未考虑完全的地方,望不吝赐教2023-04-04 这篇文章主要介绍了VUE预渲染及遇到的坑,小编觉得挺不错的,现在分享给大家,也给大家做个参考。一起跟随小编过来看看吧2018-09-09


最新评论