vue使用vuedraggable插件实现拖拽效果
更新时间:2024年04月01日 10:16:41 作者:鱼干~
这篇文章主要介绍了vue使用vuedraggable插件实现拖拽效果,本文分步骤介绍了安装vuedraggable插件的方法及页面引入的方法,需要的朋友可以参考下
技术:
ant design vue1.7.8 的UI框架、
vue2.x版本
场景:需要实现div拖拽的效果
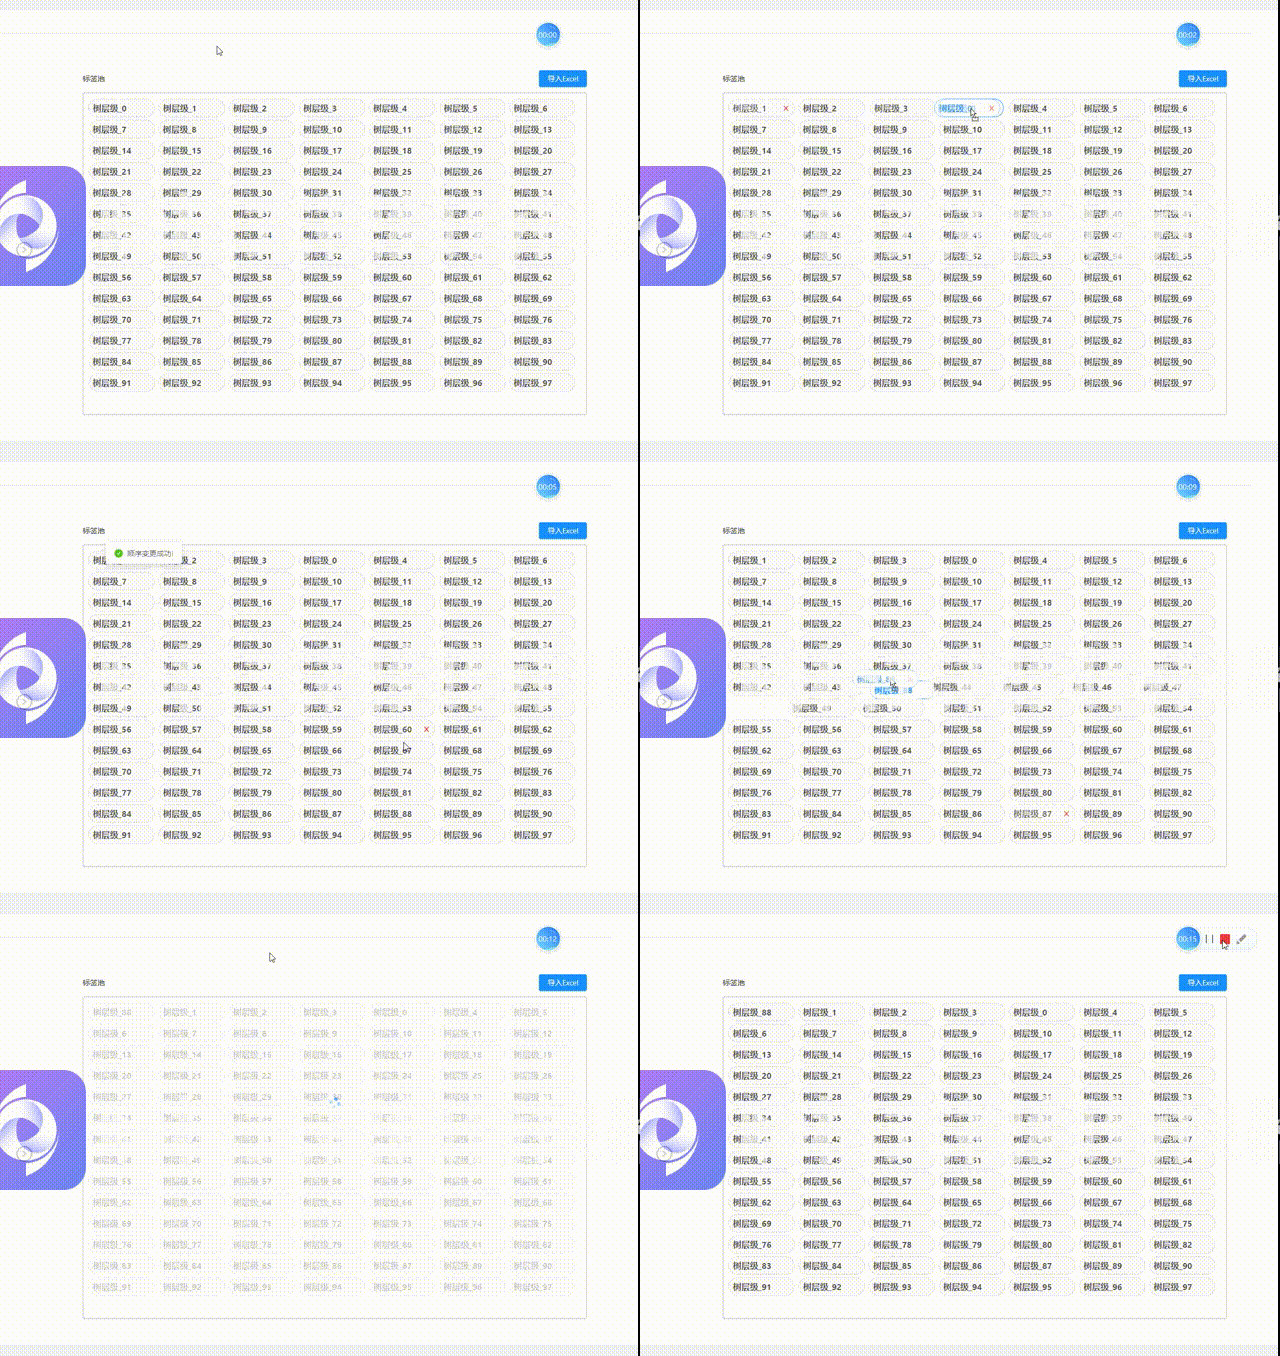
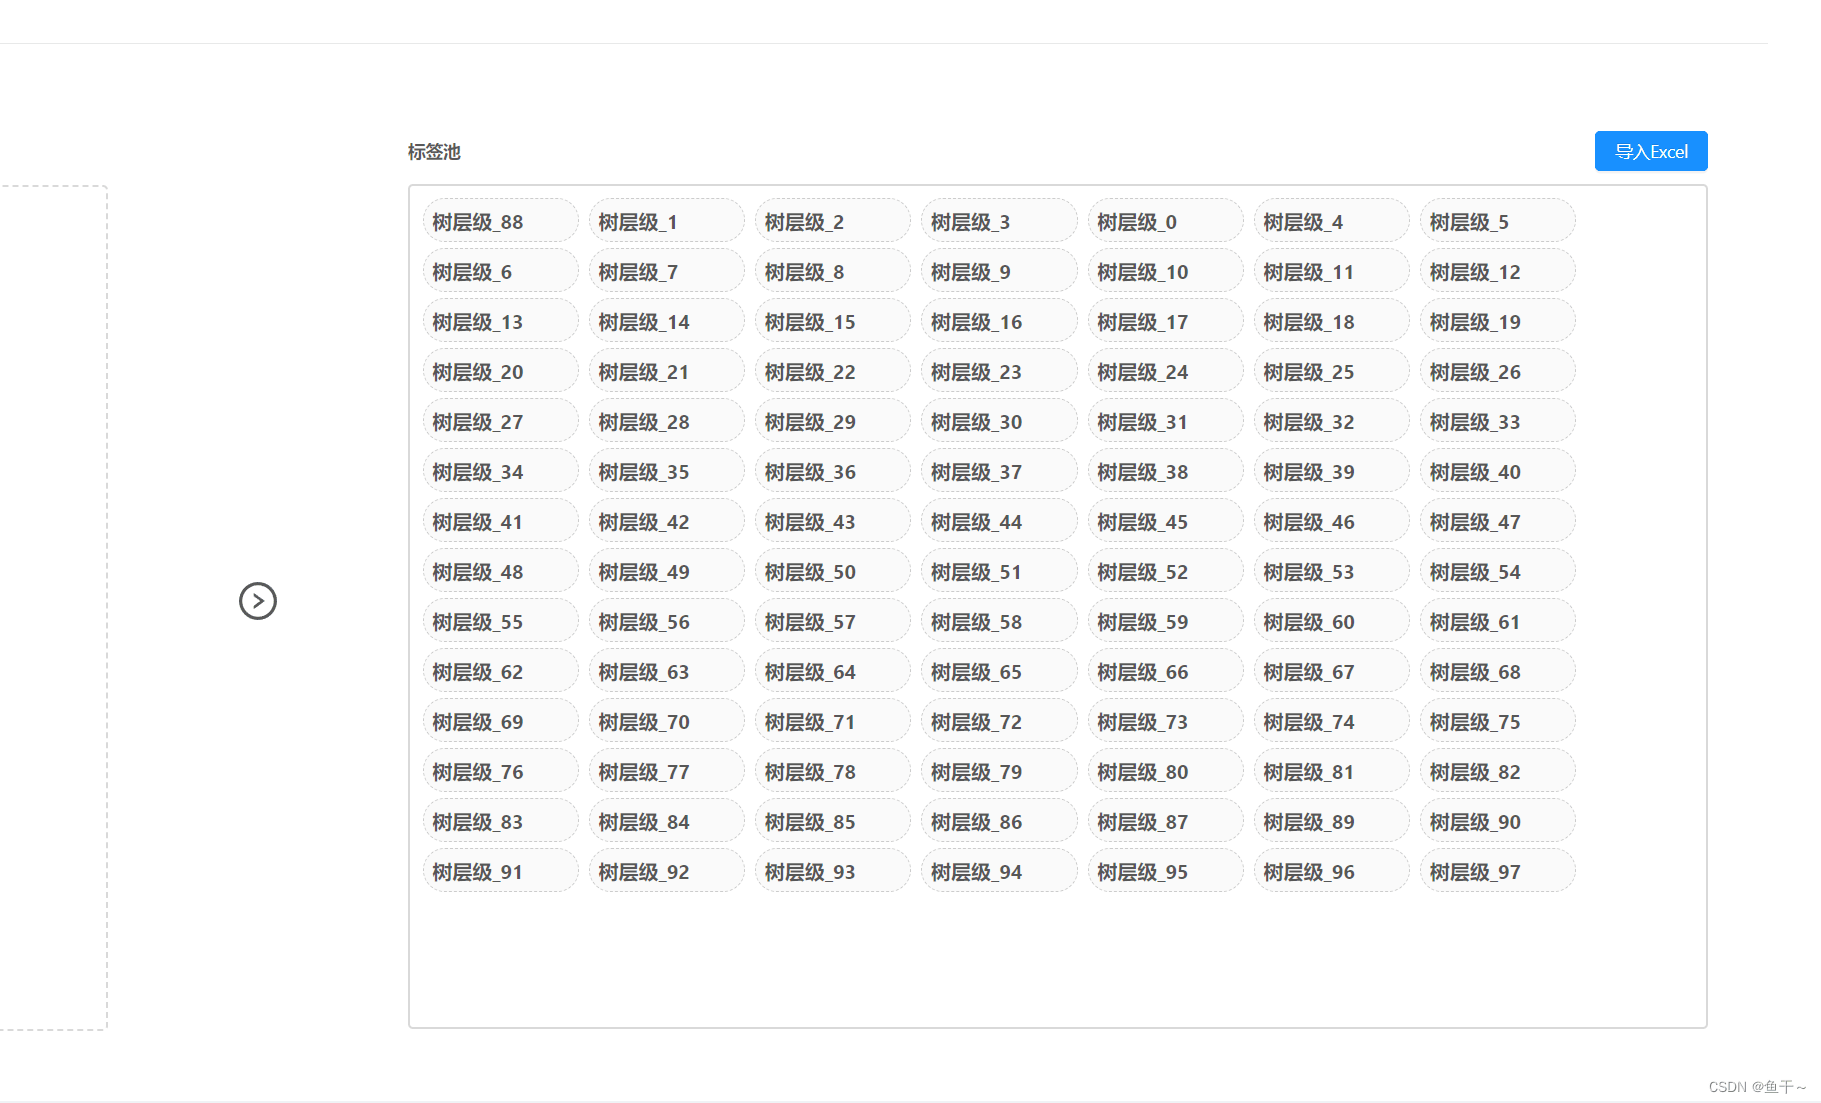
效果图:


第一步:安装vuedraggable插件
//npm方式安装
npm i -S vuedraggable
//或使用yarn安装
yarn add vuedraggable
第二步:在页面引入组件 script代码块里
<script>
//第一步 ***.引入组件
import draggable from 'vuedraggable'
export default {
  components: {
    draggable, //***.第二步
  },
  data() {
    return {
      tagsList: [],
      treeClass: '',
      classList: [],
      checkedCategoryKeys: [],
      categoryTree: [],
      defaultProps: {
        children: 'subGroupList',
        title: 'groupName',
        key: 'groupCode',
      },
      eventSelectedNode: null,
      isLoading: false,
    }
  },
  created() {
    this.load_init()
  },
  methods: {
    //拖拽动作   ***.第三步 拖拽完成事件
    onDraggableUpdate(e) {
      this.isLoading = true
      setTimeout(() => {
        this.isLoading = false
        //老位置
        const oldIndex = e.oldIndex
        //新位置
        const newIndex = e.newIndex
        const newSort = this.tagsList[e.newIndex].sort
        this.tagsList[e.newIndex].sort = this.tagsList[e.oldIndex].sort
        this.tagsList[e.oldIndex].sort = newSort
        console.log(this.tagsList)
        this.$message.success('顺序变更成功!')
      }, 1000)
    },
    //初始化
    load_init() {
      for (let index = 0; index < 98; index++) {
        this.classList.push({
          value: 'val' + index,
          label: '树层级_' + index,
        })
        this.tagsList.push({
          value: 'val' + index,
          label: '树层级_' + index,
          //是否编辑
          isEditName: false,
          //排序
          sort: index,
          //loading
          isLoading: false,
        })
      }
    },
  },
}
</script>
template代码块
      <div class="bodyRight">
        <div class="bodyRightTitle">
          <div><span>标签池</span></div>
          <div><a-button type="primary">导入Excel</a-button></div>
        </div>
        <div class="bodyRightLabel">
          <a-spin :spinning="isLoading">
          <!-- ***.下面是第四步 -->
            <draggable
              v-model="tagsList"
              class="bodyRightdraggable"
              @sort="onDraggableUpdate"
              animation="300"
              chosenClass="chosen"
            >
              <transition-group v-for="item in tagsList" :key="item.value">
                <a-tag
                  class="tabs"
                  :key="item.value"
                  @close="deleteTag(item)"
                  style="margin-bottom: 5px"
                  @dblclick="handleDblClick(item)"
                >
                  <span class="a-select__tags-text tagname" v-if="!item.isEditName">
                    <CEllipsis :length="8" :tooltip="true">
                      {{ item.label }}
                    </CEllipsis>
                    <div title="删除"><a-icon type="close" @click.stop="removeLabel(item)" /></div>
                  </span>
                  <a-input
                    v-else
                    :ref="'input_' + item.value"
                    v-model="item.label"
                    :maxLength="22"
                    @pressEnter="sumbitLabel(item)"
                    placeholder="请输入标签名称"
                    @blur="sumbitLabel(item)"
                  ></a-input>
                </a-tag>
              </transition-group>
            </draggable>
          </a-spin>
        </div>
      </div>
style代码块
    .bodyRight {
      width: 65%;
      height: 100%;
      .bodyRightTitle {
        width: 100%;
        display: flex;
        justify-content: space-between;
        align-items: center;
        padding-bottom: 10px;
        line-height: 18px;
      }
      .bodyRightLabel {
        width: 100%;
        height: 90%;
        overflow-y: auto;
        border: 2px solid #d9d9d9;
        border-radius: 4px;
        display: flex;
        flex-wrap: wrap;
        justify-content: flex-start;
        align-content: flex-start;
        .bodyRightdraggable {
          display: flex;
          flex-wrap: wrap;
          padding: 10px;
        }
        .tabs {
          width: 125px;
          height: 35px;
          border: 1px dashed #ccc;
          border-radius: 25px;
          font-size: 16px;
          align-items: center;
          display: flex;
          cursor: pointer;
          .tagname {
            width: 100%;
            display: flex;
            justify-content: space-between;
          }
          i {
            display: none;
          }
          &:hover {
            i {
              font-size: 16px;
              color: red;
              display: inline-block;
            }
          }
        }
        //***.第五步 样式
        .chosen {
          .tabs {
            border: 1px solid #1890ff;
            background-color: #fff !important;
            color: #1890ff;
            cursor: move;
          }
        }
      }
    }
注意点:
1.我的vuedraggable版本是2.24.3
2.官网文档地址:https://www.itxst.com/vue-draggable/tutorial.html
到此这篇关于vue使用vuedraggable插件实现拖拽效果的文章就介绍到这了,更多相关vue vuedraggable拖拽内容请搜索脚本之家以前的文章或继续浏览下面的相关文章希望大家以后多多支持脚本之家!


最新评论