
OpenCV+python实现实时目标检测功能
环境安装
- 安装Anaconda,官网链接Anaconda
- 使用conda创建py3.6的虚拟环境,并激活使用
conda create -n py3.6 python=3.6 //创建
	conda activate py3.6 //激活

3.安装依赖numpy和imutils
//用镜像安装
pip install -i https://pypi.tuna.tsinghua.edu.cn/simple numpy
pip install -i https://pypi.tuna.tsinghua.edu.cn/simple imutils
4.安装opencv
(1)首先下载opencv(网址:opencv),在这里我选择的是opencv_python‑4.1.2+contrib‑cp36‑cp36m‑win_amd64.whl 。
(2)下载好后,把它放到任意盘中(这里我放的是D盘),切换到安装目录,执行安装命令:pip install opencv_python‑4.1.2+contrib‑cp36‑cp36m‑win_amd64.whl
代码
首先打开一个空文件命名为real_time_object_detection.py,加入以下代码,导入你所需要的包。
# import the necessary packages
from imutils.video import VideoStream
from imutils.video import FPS
import numpy as np
import argparse
import imutils
import time
import cv2
2.我们不需要图像参数,因为在这里我们处理的是视频流和视频——除了以下参数保持不变:
–prototxt:Caffe prototxt 文件路径。
–model:预训练模型的路径。
–confidence:过滤弱检测的最小概率阈值,默认值为 20%。
# construct the argument parse and parse the arguments
ap = argparse.ArgumentParser()
ap.add_argument("-p", "--prototxt", required=True,
	help="path to Caffe 'deploy' prototxt file")
ap.add_argument("-m", "--model", required=True,
	help="path to Caffe pre-trained model")
ap.add_argument("-c", "--confidence", type=float, default=0.2,
	help="minimum probability to filter weak detections")
args = vars(ap.parse_args())
3.初始化类列表和颜色集,我们初始化 CLASS 标签,和相应的随机 COLORS。
# initialize the list of class labels MobileNet SSD was trained to
# detect, then generate a set of bounding box colors for each class
CLASSES = ["background", "aeroplane", "bicycle", "bird", "boat",
	"bottle", "bus", "car", "cat", "chair", "cow", "diningtable",
	"dog", "horse", "motorbike", "person", "pottedplant", "sheep",
	"sofa", "train", "tvmonitor"]
COLORS = np.random.uniform(0, 255, size=(len(CLASSES), 3))
4.加载自己的模型,并设置自己的视频流。
# load our serialized model from disk
print("[INFO] loading model...")
net = cv2.dnn.readNetFromCaffe(args["prototxt"], args["model"])

# initialize the video stream, allow the cammera sensor to warmup,
# and initialize the FPS counter
print("[INFO] starting video stream...")
vs = VideoStream(src=0).start()
time.sleep(2.0)
fps = FPS().start()
首先我们加载自己的序列化模型,并且提供对自己的 prototxt文件 和模型文件的引用
net = cv2.dnn.readNetFromCaffe(args["prototxt"], args["model"])。
下一步,我们初始化视频流(来源可以是视频文件或摄像头)。首先,我们启动 VideoStreamvs = VideoStream(src=0).start(),随后等待相机启动time.sleep(2.0),最后开始每秒帧数计算fps = FPS().start()。VideoStream 和 FPS 类是 imutils 包的一部分。
5.遍历每一帧
# loop over the frames from the video stream
while True:
	# grab the frame from the threaded video stream and resize it
	# to have a maximum width of 400 pixels
	frame = vs.read()
	frame = imutils.resize(frame, width=400)

	# grab the frame from the threaded video file stream
	(h, w) = frame.shape[:2]
	blob = cv2.dnn.blobFromImage(cv2.resize(frame, (300, 300)),
		0.007843, (300, 300), 127.5)

	# pass the blob through the network and obtain the detections and
	# predictions
	net.setInput(blob)
	detections = net.forward()
首先,从视频流中读取一帧frame = vs.read(),随后调整它的大小imutils.resize(frame, width=400)。由于我们随后会需要宽度和高度,接着进行抓取(h, w) = frame.shape[:2]。最后将 frame 转换为一个有 dnn 模块的 blob,cv2.dnn.blobFromImage(cv2.resize(frame, (300, 300)),0.007843, (300, 300), 127.5)。
现在,我们设置 blob 为神经网络的输入net.setInput(blob),通过 net 传递输入detections = net.forward()。
6.这时,我们已经在输入帧中检测到了目标,现在看看置信度的值,来判断我们能否在目标周围绘制边界框和标签。
# loop over the detections
	for i in np.arange(0, detections.shape[2]):
		# extract the confidence (i.e., probability) associated with
		# the prediction
		confidence = detections[0, 0, i, 2]

		# filter out weak detections by ensuring the `confidence` is
		# greater than the minimum confidence
		if confidence > args["confidence"]:
			# extract the index of the class label from the
			# `detections`, then compute the (x, y)-coordinates of
			# the bounding box for the object
			idx = int(detections[0, 0, i, 1])
			box = detections[0, 0, i, 3:7] * np.array([w, h, w, h])
			(startX, startY, endX, endY) = box.astype("int")

			# draw the prediction on the frame
			label = "{}: {:.2f}%".format(CLASSES[idx],
				confidence * 100)
			cv2.rectangle(frame, (startX, startY), (endX, endY),
				COLORS[idx], 2)
			y = startY - 15 if startY - 15 > 15 else startY + 15
			cv2.putText(frame, label, (startX, y),
				cv2.FONT_HERSHEY_SIMPLEX, 0.5, COLORS[idx], 2)
在 detections 内循环,一个图像中可以检测到多个目标。因此我们需要检查置信度。如果置信度足够高(高于阈值),那么将在终端展示预测,并以文本和彩色边界框的形式对图像作出预测。
在 detections 内循环,首先我们提取 confidence 值,confidence = detections[0, 0, i, 2]。如果 confidence 高于最低阈值(if confidence > args["confidence"]:),那么提取类标签索引(idx = int(detections[0, 0, i, 1])),并计算检测到的目标的坐标(box = detections[0, 0, i, 3:7] * np.array([w, h, w, h]))。然后,我们提取边界框的 (x, y) 坐标((startX, startY, endX, endY) = box.astype("int")),将用于绘制矩形和文本。接着构建一个文本 label,包含 CLASS 名称和 confidence(label = "{}: {:.2f}%".format(CLASSES[idx],confidence * 100))。还要使用类颜色和之前提取的 (x, y) 坐标在物体周围绘制彩色矩形(cv2.rectangle(frame, (startX, startY), (endX, endY),COLORS[idx], 2))。如果我们希望标签出现在矩形上方,但是如果没有空间,我们将在矩形顶部稍下的位置展示标签(y = startY - 15 if startY - 15 > 15 else startY + 15)。最后,我们使用刚才计算出的 y 值将彩色文本置于帧上(cv2.putText(frame, label, (startX, y),cv2.FONT_HERSHEY_SIMPLEX, 0.5, COLORS[idx], 2))。
7.帧捕捉循环剩余的步骤还包括:展示帧;检查 quit 键;更新 fps 计数器。
	# show the output frame
	cv2.imshow("Frame", frame)
	key = cv2.waitKey(1) & 0xFF

	# if the `q` key was pressed, break from the loop
	if key == ord("q"):
		break

	# update the FPS counter
	fps.update()
上述代码块简单明了,首先我们展示帧(cv2.imshow("Frame", frame)),然后找到特定按键(key = cv2.waitKey(1) & 0xFF),同时检查「q」键(代表「quit」)是否按下。如果已经按下,则我们退出帧捕捉循环(if key == ord("q"):break),最后更新 fps 计数器(fps.update())。
8.退出了循环(「q」键或视频流结束),我们还要处理以下。
# stop the timer and display FPS information
fps.stop()
print("[INFO] elapsed time: {:.2f}".format(fps.elapsed()))
print("[INFO] approx. FPS: {:.2f}".format(fps.fps()))

# do a bit of cleanup
cv2.destroyAllWindows()
vs.stop()
运行文件目录有以下文件:
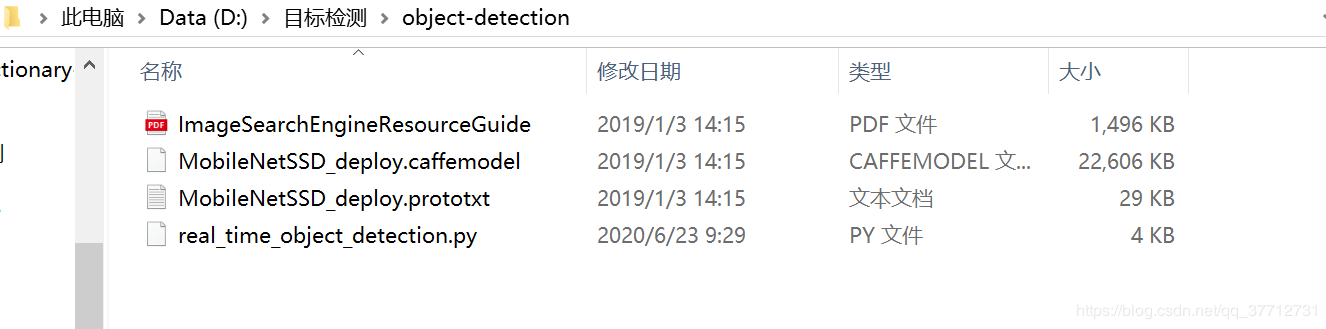
到文件相应的目录下:cd D:\目标检测\object-detection执行命令:python real_time_object_detection.py --prototxt MobileNetSSD_deploy.prototxt.txt --model MobileNetSSD_deploy.caffemodel
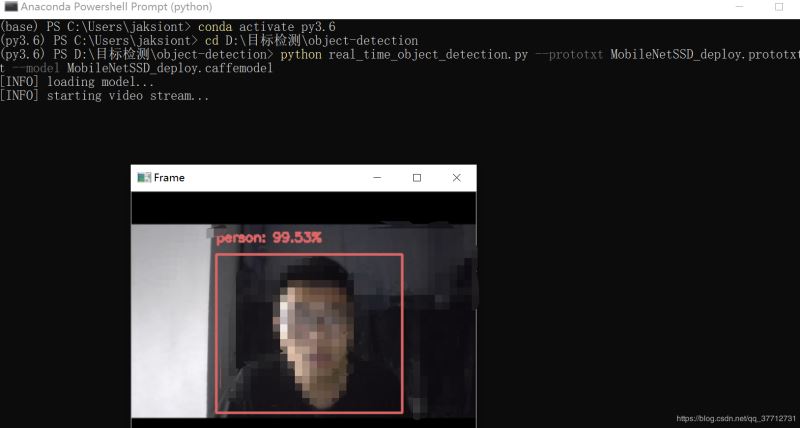
演示
这里我把演示视频上传到了B站,地址链接目标检测
补充
项目github地址object_detection链接。
本项目要用到MobileNetSSD_deploy.prototxt.txt和MobileNetSSD_deploy.caffemodel,可以去github上下载项目运行。
到此这篇关于OpenCV+python实现实时目标检测功能的文章就介绍到这了,更多相关python实现目标检测内容请搜索脚本之家以前的文章或继续浏览下面的相关文章希望大家以后多多支持脚本之家!
相关文章

jupyter notebook保存文件默认路径更改方法汇总(亲测可以)
安装Anaconda后,新建文件的默认存储路径一般在C系统盘,那么路径是什么呢?如何更改jupyter notebook保存文件默认路径呢?今天小编就这一问题通过两种方法给大家讲解,需要的朋友跟随小编一起看看吧2021-06-06 这篇文章主要介绍了python内置模块collections详解,collections是Python内建的一个集合模块,提供了许多有用的集合类,python提供了很多非常好用的基本类型,比如不可变类型tuple,我们可以轻松地用它来表示一个二元向量,需要的朋友可以参考下2023-09-09
 这篇文章主要介绍了python读取txt数据的操作步骤,本文给大家介绍的非常详细,对大家的学习或工作具有一定的参考借鉴价值,需要的朋友可以参考下2022-04-04
 这篇文章主要为大家详细介绍了python或C++读取指定文件夹下的所有图片,文中示例代码介绍的非常详细,具有一定的参考价值,感兴趣的小伙伴们可以参考一下2019-08-08
 这篇文章主要给大家介绍了关于pymongo中group by的操作方法,文中通过示例代码介绍的非常详细,对大家学习或者使用pymongo具有一定的参考学习价值,需要的朋友们下面来一起学习学习吧2019-03-03
 这篇文章主要介绍了Django多数据库联用实现方法解析,文中通过示例代码介绍的非常详细,对大家的学习或者工作具有一定的参考学习价值,需要的朋友可以参考下2020-11-11
 psutil是一个跨平台的Python库,用于系统监控、性能分析和进程管理,它提供了丰富的API,可用于获取系统的CPU、内存、磁盘、网络等资源的使用情况,以及进行进程管理,psutil支持Linux、Windows、macOS等主流操作系统2024-11-11
 这篇文章主要为大家详细介绍了一个Python最简单的接口自动化框架,具有一定的参考价值,感兴趣的小伙伴们可以参考一下2018-01-01
 这篇文章主要介绍了pytorch-实现mnist手写彩色数字识别,文章围绕主题展开详细的内容姐介绍,具有一定的参考价值,需要的小伙伴可以参考一下2022-09-09
 本文给大家分享的是如何使用python打包出32位和64位的应用程序的方法,非常的简单实用,有需要的小伙伴可以参考下2020-02-02


最新评论