
Ollama整合open-webui的步骤及访问
更新时间:2025年02月10日 08:28:42 作者:Lee Howard
这篇文章主要介绍了如何通过源码方式安装OpenWebUI,并详细说明了安装步骤、环境要求以及第一次使用时的账号注册和模型选择过程,需要的朋友可以参考下
安装
官方安装地址:https://docs.openwebui.com/getting-started/
有两种安装方式,docker和源码。
熟悉docker的同学可以采用该方式。
本文以源码的形式进行安装。
环境要求
熟练使用python
🐰 Node.js >= 20.10
🐍 Python >= 3.11
步骤
克隆代码
git clone https://github.com/open-webui/open-webui.git

cd open-webui/

拷贝.env文件,可鼠标右键复制粘贴
# Copying required .env file
cp -RPp .env.example .env

构建前端页面
# Building Frontend Using Node
npm i
npm run build

构建后端
# Serving Frontend with the Backend
cd ./backend
pip install -r requirements.txt -U

启动服务
linux or mac:bash start.sh
windows:start_windows.bat

访问
打开地址:127.0.0.1:8000
第一次打开的时候,需要注册一个账号。(如admin/admin)
册的第一个用户默认为管理员账号,以后注册的账号角色均为pending(待分配权限)。
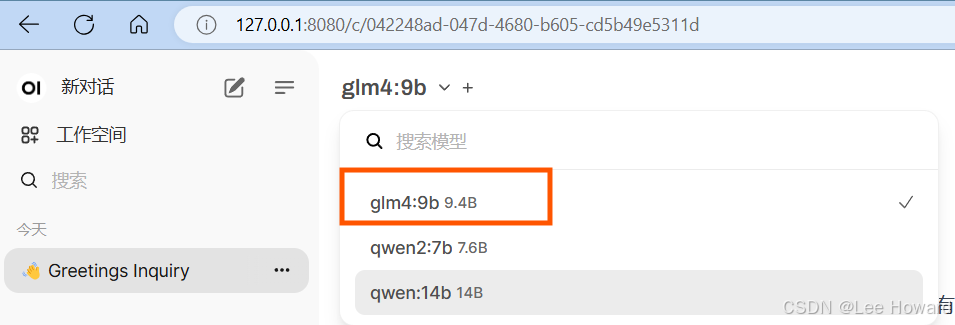
选择模型
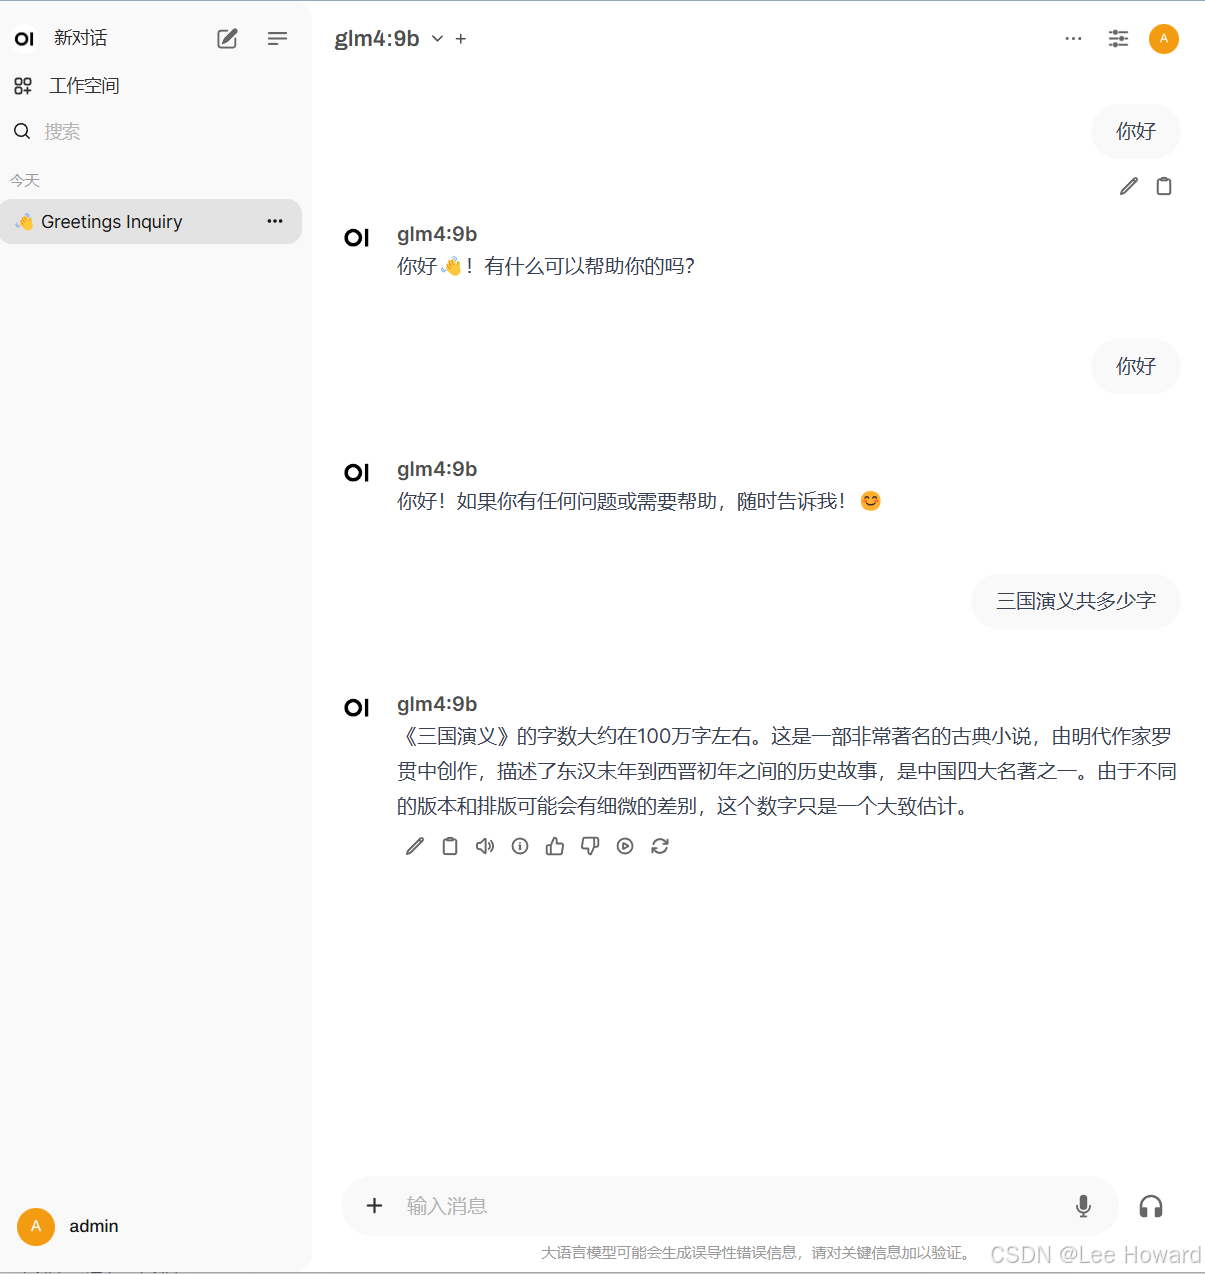
开始对话
总结
到此这篇关于Ollama整合open-webui的文章就介绍到这了,更多相关Ollama整合open-webui内容请搜索脚本之家以前的文章或继续浏览下面的相关文章希望大家以后多多支持脚本之家!
相关文章

解决Visual Studio 2019本地不能运行Azure Functions
本文主要介绍了Visual Studio 2019本地不能运行Azure Functions的解决方方法,具有一定的参考价值,感兴趣的小伙伴们可以参考一下2021-06-06
chatGPT deBug解决管理员登入服务器返回401问题
这篇文章主要介绍了chatGPT deBug解决管理员登入,服务器返回401,没有拿到数据,有需要的朋友可以借鉴参考下,希望能够有所帮助,祝大家多多进步,早日升职加薪2023-05-05 GCC 是 Linux 下的编译工具集,是「GNU Compiler Collection」的缩写,包含 gcc、g++ 等编译器,这篇文章主要介绍了GCC 指令详解及动态库、静态库的使用,需要的朋友可以参考下2022-10-10
基于Laravel + Vue + Element 实现 人力资源系统(考勤应用 )
Bee 是人力资源系统中的考勤应用,主要功能用于员工申请假单。接下来通过本文给大家介绍基于Laravel + Vue + Element 考勤应用 之 人力资源系统,需要的朋友可以参考下2019-10-10 这篇文章主要介绍了程序员的八种境界,你在哪一境?本文同时探讨了为什么中国的程序员总被称为码农的原因,需要的朋友可以参考下2014-09-09
 这篇文章主要介绍了Deepin20安装开发环境的步骤详解,本文给大家介绍的非常详细,对大家的学习或工作具有一定的参考借鉴价值,需要的朋友可以参考下2020-10-10
 这篇文章主要介绍了本地搭建DeepSeek-R1、WebUI的完整过程及访问的相关资料,DeepSeek-R1是一个开源的人工智能平台,主要用于大语言模型的本地部署和管理,通过Docker和Ollama工具,用户可以在自己的服务器上运行DeepSeek-R1,并通过WebUI交互和测试,需要的朋友可以参考下2025-02-02
 高性能架构和系统设计要求高并发高性能,高性能更多的是先从编码角度、架构使用角度去让我们的单机(单实例)有更好的性能,然后再从整个系统层面来拥有更好的性能;高并发则直接是全局角度来让我们的系统在全链路下都能够抗住更多的并发请求2023-08-08
 这篇文章主要介绍了hadoop二次排序的原理和实现,本文通过实例代码给大家介绍的非常详细,具有一定的参考借鉴价值,需要的朋友可以参考下2019-06-06
 Markdown是一种轻量级标记语言,创始人为约翰·格鲁伯(John Gruber), 它允许人们使用易读易写的纯文本格式编写文档,然后转换成有效的 XHTML(或者HTML)文档,由于Markdown的轻量化、易读易写特性,并且对于图片,图表、数学式都有支持,许多网站都广泛使用Markdown2024-08-08


最新评论