
使用Python实现一个图片查看器
更新时间:2025年02月18日 10:35:15 作者:席子哥哥的代码库
这篇文章主要为大家详细介绍了如何使用Python实现一个简单的图片查看器,并且可以实现图片放大与缩小功能,感兴趣的小伙伴可以了解下
效果图
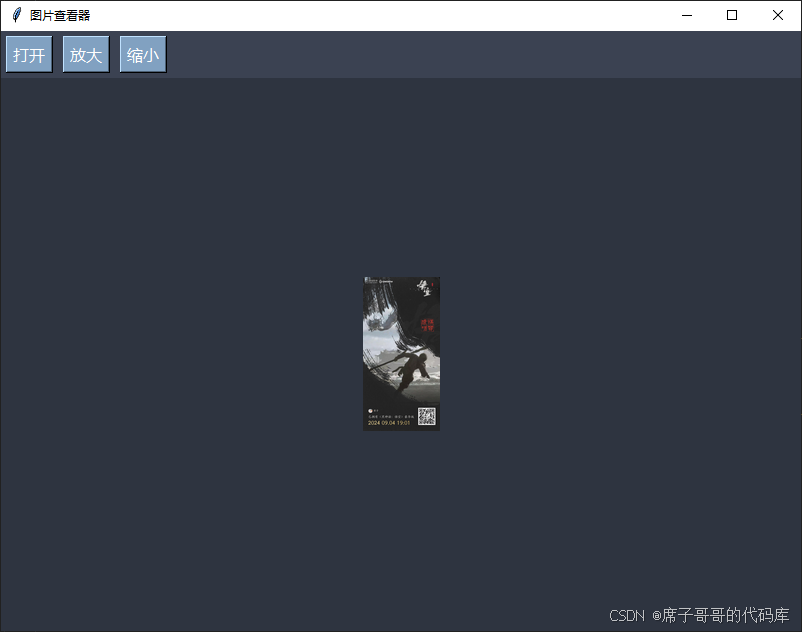
图片格式:支持常见的图片格式(JPG、PNG、BMP、GIF)。
完整代码
import os
import tkinter as tk
from tkinter import filedialog, messagebox
from PIL import Image, ImageTk

class ImageViewer:
    def __init__(self, root):
        self.root = root
        self.root.title("图片查看器")
        self.root.geometry("800x600")
        self.root.configure(bg="#2E3440")  # 设置背景颜色

        # 当前图片路径
        self.current_image_path = None
        self.image = None
        self.photo = None
        self.scale_factor = 1.0
        self.is_auto_scaling = True  # 是否自动缩放

        # 创建界面
        self.create_widgets()

    def create_widgets(self):
        """创建界面组件"""
        # 顶部工具栏
        toolbar = tk.Frame(self.root, bg="#3B4252")  # 工具栏背景颜色
        toolbar.pack(side=tk.TOP, fill=tk.X)

        # 打开按钮
        btn_open = tk.Button(toolbar, text="打开", command=self.open_image, bg="#81A1C1", fg="white", activebackground="#5E81AC", activeforeground="white", font=("微软雅黑", 12))
        btn_open.pack(side=tk.LEFT, padx=5, pady=5)

        # 放大按钮
        btn_zoom_in = tk.Button(toolbar, text="放大", command=self.zoom_in, bg="#81A1C1", fg="white", activebackground="#5E81AC", activeforeground="white", font=("微软雅黑", 12))
        btn_zoom_in.pack(side=tk.LEFT, padx=5, pady=5)

        # 缩小按钮
        btn_zoom_out = tk.Button(toolbar, text="缩小", command=self.zoom_out, bg="#81A1C1", fg="white", activebackground="#5E81AC", activeforeground="white", font=("微软雅黑", 12))
        btn_zoom_out.pack(side=tk.LEFT, padx=5, pady=5)

        # 图片显示区域
        self.canvas = tk.Canvas(self.root, bg="#2E3440", highlightthickness=0)
        self.canvas.pack(fill=tk.BOTH, expand=True)

        # 绑定窗口大小变化事件
        self.root.bind("<Configure>", self.on_window_resize)

    def open_image(self):
        """打开图片"""
        file_path = filedialog.askopenfilename(
            title="选择图片",
            filetypes=[("图片文件", "*.jpg *.jpeg *.png *.bmp *.gif")]
        )
        if file_path:
            self.current_image_path = file_path
            self.load_image()

    def load_image(self):
        """加载图片"""
        try:
            self.image = Image.open(self.current_image_path)
            self.scale_factor = 1.0
            self.is_auto_scaling = True  # 加载图片时启用自动缩放
            self.update_image()
        except Exception as e:
            messagebox.showerror("错误", f"无法加载图片: {str(e)}")

    def update_image(self):
        """更新显示的图片"""
        if self.image:
            # 计算缩放后的尺寸
            canvas_width = self.canvas.winfo_width()
            canvas_height = self.canvas.winfo_height()
            image_width, image_height = self.image.size

            if self.is_auto_scaling:
                # 自动缩放时计算缩放比例
                width_ratio = canvas_width / image_width
                height_ratio = canvas_height / image_height
                self.scale_factor = min(width_ratio, height_ratio)

            # 缩放图片
            width = int(image_width * self.scale_factor)
            height = int(image_height * self.scale_factor)
            resized_image = self.image.resize((width, height), Image.Resampling.LANCZOS)
            self.photo = ImageTk.PhotoImage(resized_image)

            # 清除画布并显示图片
            self.canvas.delete("all")
            self.canvas.create_image(
                canvas_width // 2,
                canvas_height // 2,
                anchor=tk.CENTER,
                image=self.photo
            )

    def zoom_in(self):
        """放大图片"""
        if self.image:
            self.is_auto_scaling = False  # 手动缩放时禁用自动缩放
            self.scale_factor *= 1.2
            self.update_image()

    def zoom_out(self):
        """缩小图片"""
        if self.image:
            self.is_auto_scaling = False  # 手动缩放时禁用自动缩放
            self.scale_factor /= 1.2
            self.update_image()

    def on_window_resize(self, event):
        """窗口大小变化时自动调整图片大小"""
        if self.image and self.is_auto_scaling:
            self.update_image()

if __name__ == "__main__":
    root = tk.Tk()
    app = ImageViewer(root)
    root.mainloop()
到此这篇关于使用Python实现一个图片查看器的文章就介绍到这了,更多相关Python图片查看器内容请搜索脚本之家以前的文章或继续浏览下面的相关文章希望大家以后多多支持脚本之家!
相关文章

python-can中Notifier类的实现报文的实时分发
文章介绍了利用python-can库中的Notifier类创建一个线程来从总线读取CAN消息,并通过回调函数将消息分发给监听对象,具有一定的参考价值,感兴趣的可以了解一下2026-04-04 下面就使用VLAD表示图像,实现一个小型的图像数据库的检索程序。下面实现需要的功能模块,分步骤给大家介绍的非常详细,对OpenCV图像数据库检索功能感兴趣的朋友跟随小编一起看看吧2021-12-12
 这篇文章主要介绍了Python使用pandas导入csv文件内容,本文结合示例代码给大家介绍的非常详细,对大家的学习或工作具有一定的参考借鉴价值,需要的朋友可以参考下2022-12-12
使用Python将PDF表格提取到文本,CSV和Excel文件中
本文将介绍如何使用简单的Python代码从PDF文档中提取表格数据并将其写入文本、CSV和Excel文件,从而轻松实现PDF表格的自动化提取,有需要的可以参考下2024-11-11 Python除了List、Tuple、Dict等常用数据类型外,还有一种数据类型叫做集合(set),集合的最大特点是:集合里边的元素是不可重复的并且集合内的元素还是无序的2021-09-09
 这篇文章主要为大家详细介绍了如何使用python快速做一个简易查内网IP网站,通过电脑访问网站就知道自己的IP地址,感兴趣的小伙伴可以了解下2024-10-10
基于Python+Dify实现批量OCR识别的自动化解决方案
在日常工作中,我们经常会遇到大量图片格式的PDF文件,这类文件无法直接复制文本,手动逐页OCR识别效率极低,下面我们看看如何使用Python和Dify实现全自动化解决这一问题吧2025-12-12 这篇文章主要介绍了python多进程(加入进程池)操作,结合常见案例形式分析了Python多进程复制文件、加入进程池及多进程聊天等相关操作技巧,需要的朋友可以参考下2019-10-10
 这篇文章主要介绍了关于python中密码加盐的学习体会小结,文中通过示例代码介绍的非常详细,对大家的学习或者工作具有一定的参考学习价值,需要的朋友们下面随着小编来一起学习学习吧2019-07-07
 Pygame 中提供了一个draw模块用来绘制一些简单的图形状,比如矩形、多边形、圆形、直线、弧线等。本文主要介绍Pygame中的Draw绘图,感兴趣的同学可以参考阅读2023-04-04


最新评论