
React Router 5.1.0使用useHistory做页面跳转导航的实现
更新时间:2021年11月12日 15:30:38 作者:嚣张.miner
本文主要介绍了React Router 5.1.0使用useHistory做页面跳转导航的实现,文中通过示例代码介绍的非常详细,具有一定的参考价值,感兴趣的小伙伴们可以参考一下
在React Router v4中 可以使用
- withRouter组件
- 使用标签
1.使用withRouter组件
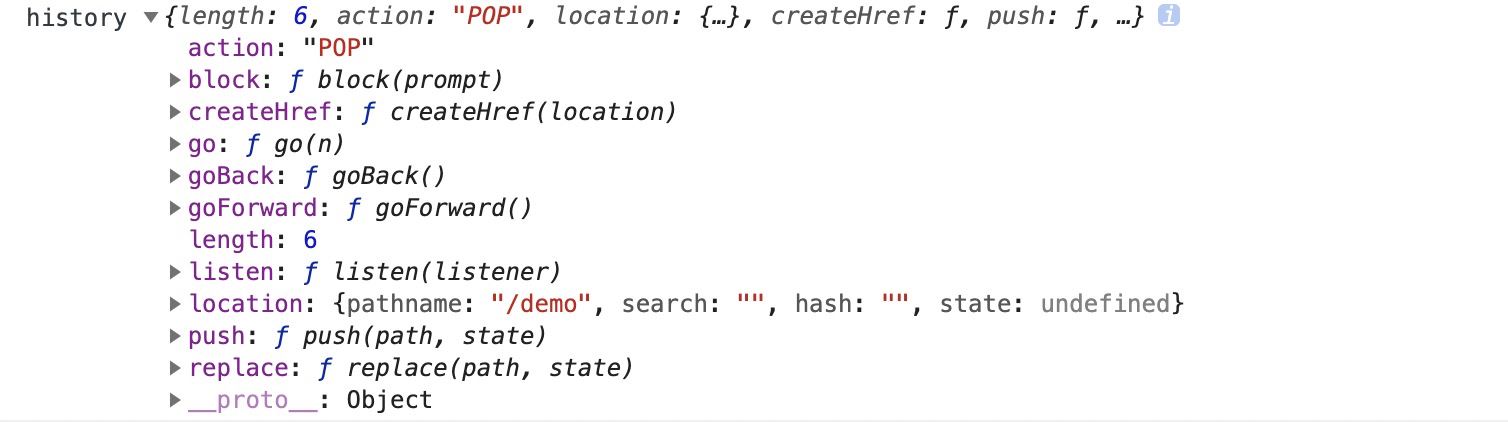
withRouter组件将注入history对象作为该组件的属性
import React from 'react'
import { withRouter } from 'react-router-dom'
import { Button } from 'antd'

export const ButtonWithRouter = withRouter(({ history }) => {
  console.log('history', history)
  return (
    <Button
      type='default'
      onClick={() => { history.push('/new-location') }}
    >
      Click Me!
    </Button>

  )
})
引入 import { ButtonWithRouter } from ‘./buttonWithRouter'
或者:
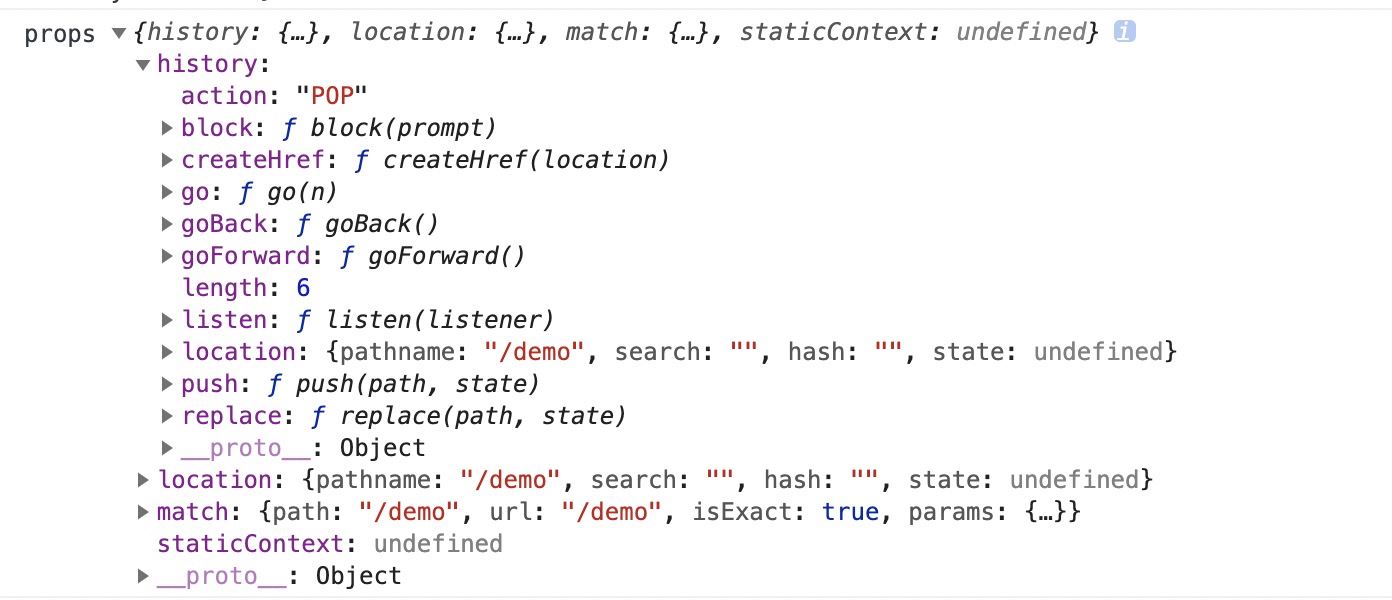
const ButtonWithRouter = (props) => {
  console.log('props', props)
  return (
    <Button
      type='default'
      onClick={() => { props.history.location.push('/new-location') }}
    >
      Click Me!
    </Button>

  )
}

export default withRouter(ButtonWithRouter)
引入: import ButtonWithRouter from ‘./buttonWithRouter'
2、使用Route标签
在route入口
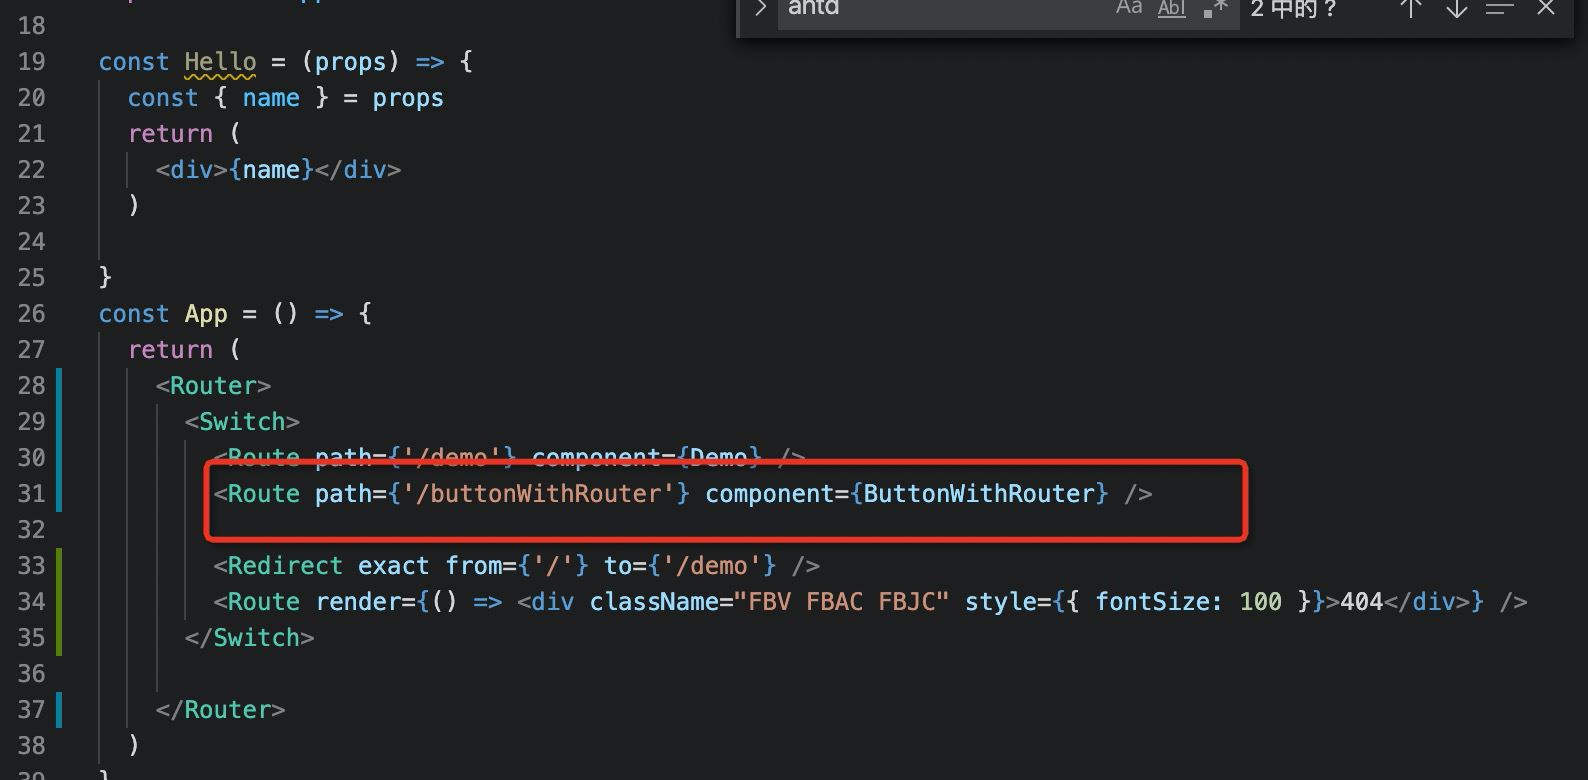
Route组件不仅用于匹配位置。 您可以渲染无路径的路由,它始终与当前位置匹配。 Route组件传递与withRouter相同的属性,因此能够通过history的属性访问history的方法。
so:
export const ButtonWithRouter = () => (
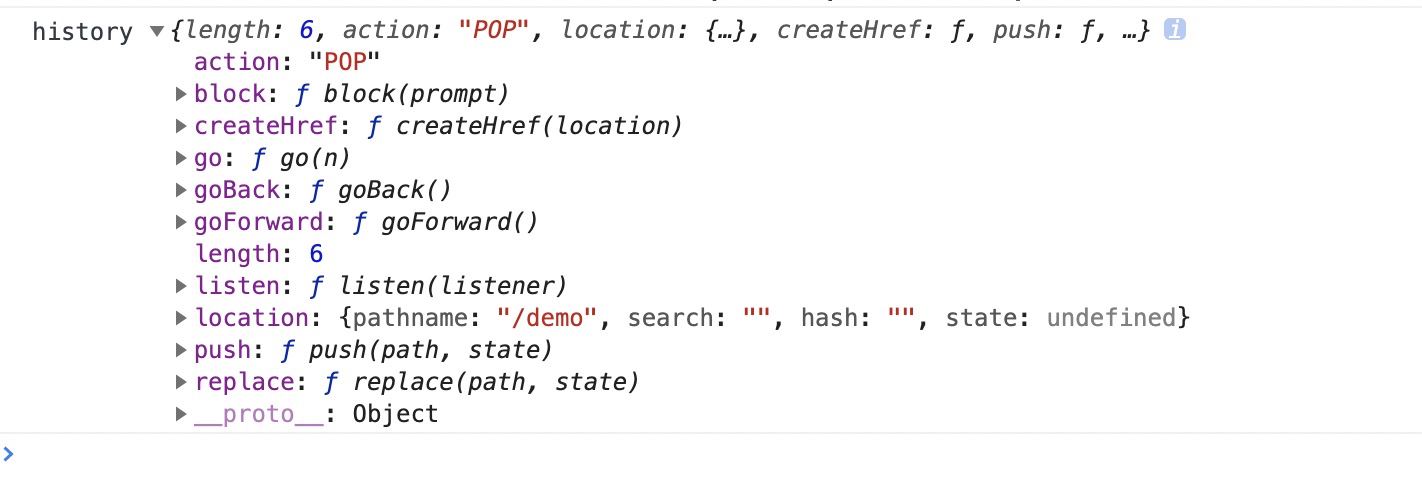
<Route render={({ history }) => {
console.log('history', history)
return (
<button
type='button'
onClick={() => { history.push('/new-location') }}
>
Click Me!
</button>
)
}} />
)
React Router 5.1.0使用useHistory
从React Router v5.1.0开始,新增了useHistory钩子(hook),如果是使用React >16.8.0,使用useHistory即可实现页面跳转
export const ButtonWithRouter = () => {
  const history = useHistory();
  console.log('history', history)
  return (
    <button
      type='button'
      onClick={() => { history.push('/new-location') }}
    >
      Click Me!
    </button>
  )
}
到此这篇关于React Router 5.1.0使用useHistory做页面跳转导航的实现的文章就介绍到这了,更多相关ReactRouter useHistory页面跳转导航内容请搜索脚本之家以前的文章或继续浏览下面的相关文章希望大家以后多多支持脚本之家!
相关文章
 本文先介绍两个框架的组件共性和不兼容的地方,再介绍react-to-vue的使用和原理,需要的朋友可以参考下2018-02-02
 这篇文章主要为大家介绍了React Native设备信息查看调试详解,有需要的朋友可以借鉴参考下,希望能够有所帮助,祝大家多多进步,早日升职加薪2022-11-11
 这篇文章主要介绍了React 条件渲染的相关资料,文中示例代码非常详细,帮助大家更好的理解和学习,感兴趣的朋友可以了解下2020-07-07
 本文主要介绍了两种创建React虚拟DOM的方式,包括JS方式和jsx方式,文中通过示例代码介绍的非常详细,对大家的学习或者工作具有一定的参考学习价值,需要的朋友们下面随着小编来一起学习学习吧2025-01-01
 在 React 中,您可以使用 addEventListener 函数来监听事件,本文通过实例代码给大家介绍react中如何使用监听,感兴趣的朋友跟随小编一起看看吧2023-10-10
解决React报错Cannot assign to 'current'
这篇文章主要为大家介绍了React报错Cannot assign to 'current' because it is a read-only property的解决方法,有需要的朋友可以借鉴参考下,希望能够有所帮助,祝大家多多进步,早日升职加薪2022-12-12 本文给大家分享React鼠标多选功能,通过导入组件直接包裹已经设计好的列表即可,操作简单方便,对React鼠标多选相关知识感兴趣的朋友一起看看吧2021-05-05
 这篇文章主要为大家介绍了详解react express实现webssh demo解析,有需要的朋友可以借鉴参考下,希望能够有所帮助,祝大家多多进步,早日升职加薪2023-04-04
 在传统的 React 项目里,页面的渲染工作是在浏览器里完成的,而服务器端渲染(SSR)则是让服务器先把 React 组件渲染成 HTML 字符串,再把这个 HTML 字符串发送给浏览器,下面我们就来看看具体实现方法吧2025-03-03
React新扩展函数setState与lazyLoad及hook介绍
这篇文章主要介绍了React新扩展函数setState与lazyLoad及hook,文中通过示例代码介绍的非常详细,对大家的学习或者工作具有一定的参考学习价值,需要的朋友们下面随着小编来一起学习吧2022-12-12


最新评论