
Photoshop鼠绘制出海盗角色效果
Add some shadows on the “Shadow” layer.
绘制“阴影”层的阴影。
Step 25
And light on the “Light” layer.
绘制“光”层的光亮部分。

Step 26
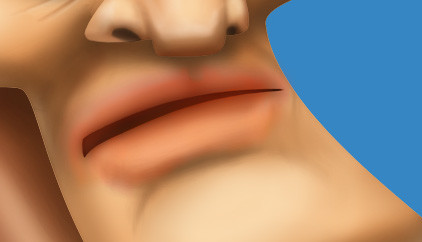
Duplicate the “Mouth” layer and put it above the “Light” layer.
复制嘴巴图层在光层上面。
Step 27
elect the mouth shape with Command/Ctrl + Left Click.
命令crtl+左键点击嘴型图层。

Step 28
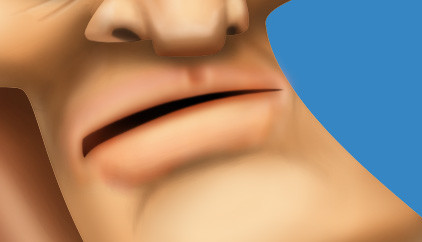
Move the selection a little bit down with the Down Key, erase by hitting the Del key.
将虚线选框往下移动一点,点击Del删除。

Step 29
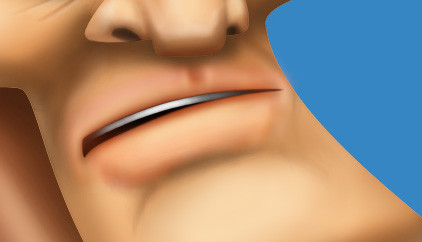
Draw the teeth with a soft brush and a black color.
用黑白颜色软刷画笔绘制牙齿部分。
Step 30
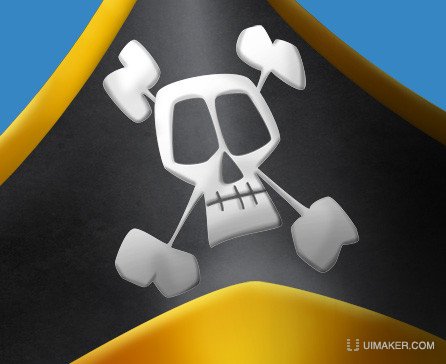
For the skull head, add shadow and light as usual.
对于骷髅头,添加阴影和光亮部分像之前一样操作。
Step 31
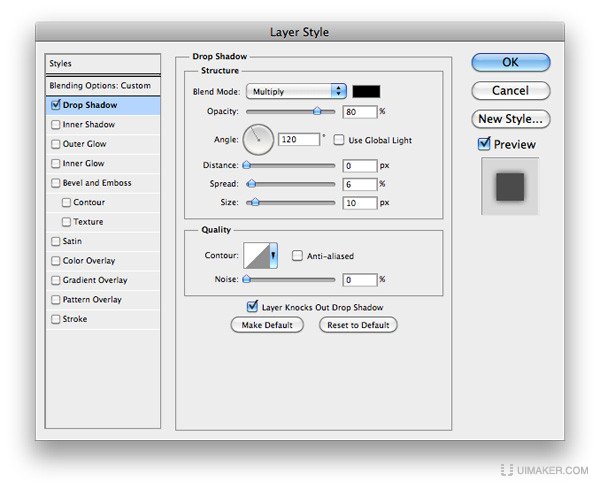
Then add a Drop Shadow Style on the skull he3ad layer.
然后,头颅骨上添加阴影样式效果。看图设置。

Step 32
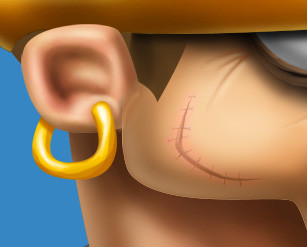
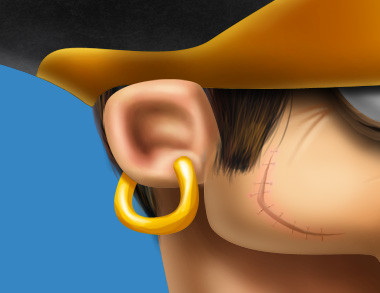
Here is a detail of the scar, nothing special, just an extra “Color” mode layer with a little bit of red around the scar.
这里是一个疤痕,没什么特别,只是一个额外的“颜色”模式层的细节。
Step 33
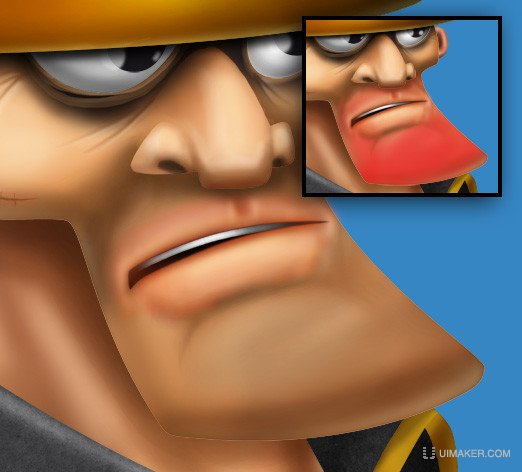
For the beard, add a new layer and set mode to "Multiply", select a soft brush and a brown color, then start to paint. I’ve shown you the "beard" zone in red on the thumbnail.
对于胡子,新建一个图层,设置模式为“正片叠底”,选择一个软刷和棕褐色,然后开始画。我展示的是缩略图中的红色区域。
Step 34
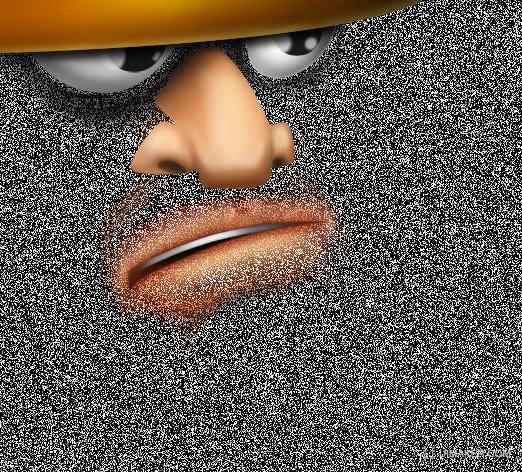
Then, add a new layer (Shift + Command/Ctrl + N), fill it with the Paint Bucket Tool (G) and a black color.
然后,新建图层(shift+ctrl+N),用油漆桶工具(G)填充一个黑色。

Step 35
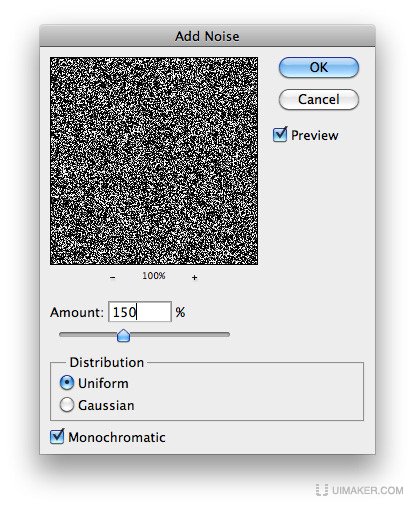
Add a “Noise” filter on the layer (Filter > Noise > Add Noise).
添加杂色(滤镜>杂色>添加杂色)。看图设置。
Step 36
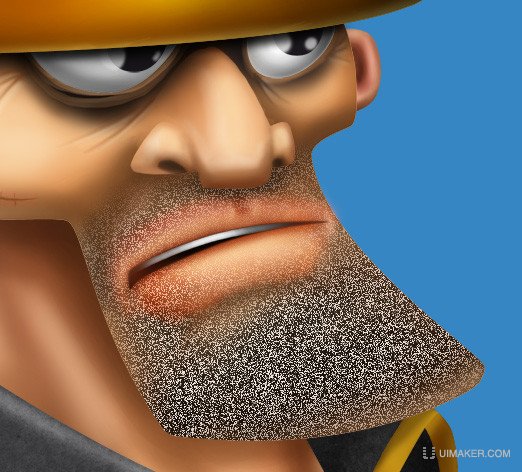
Command/Ctrl + Left Click on the “Beard” layer, reverse the selection with Shift + Command/Ctrl + I, erase with the “Del” key and deselect with Command/Ctrl + D.
命令ctrl+左键点击“胡子”层,命令shift+ctrl+I反选,点击Del删除,ctrl+D取消选择。
Step 37
Set to “Soft Light” mode and opacity to 40%.
设置为“柔光”模式,不透明度为40%。
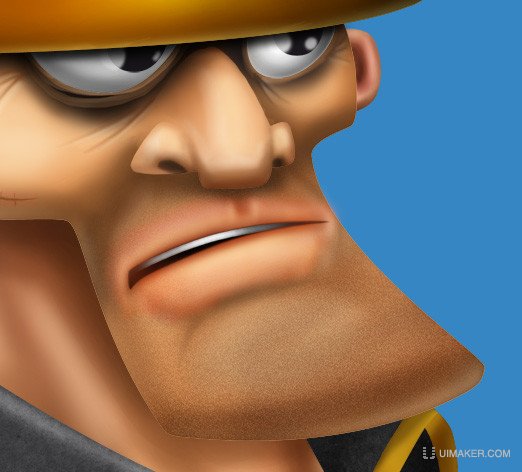
For the hairs, use a 1 pixel soft brush with a dark brown color for the shadows, and a light brown for the lights.
对于头发,使用1像素暗棕色的软毛刷绘制阴影,和褐色绘制亮部毛发。
Step 39
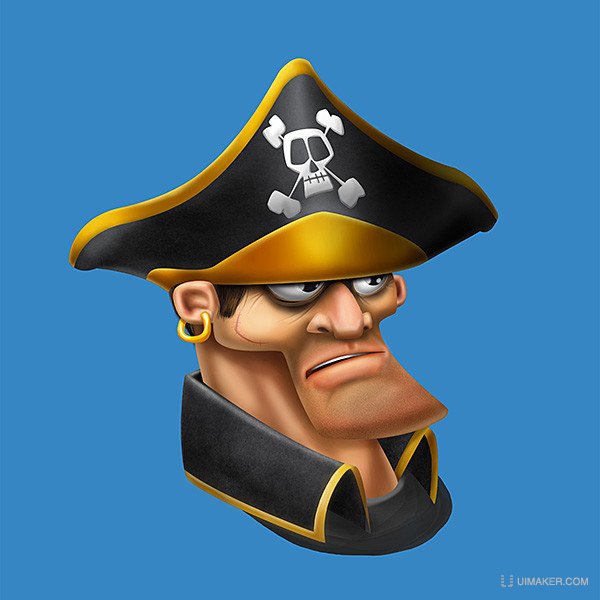
Our pirate is finally finished!
我们的海盗终于完成啦!
Step 40
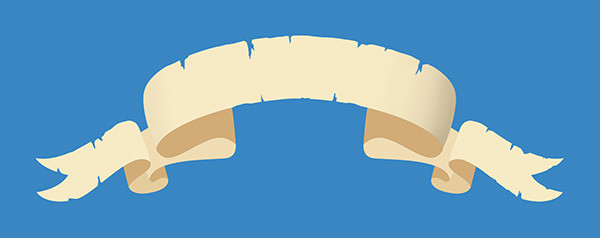
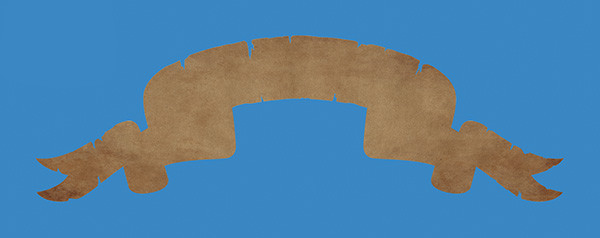
For the ribbon, use the step 5 to 8 from the pirate’s head. Use the colors: #f7eac5, #f0dcb3, #e5cc9d, #d2ac76. Erase the edges with the Eraser Tool (E) for the torn edges.
对于剪彩条,用5-8海盗的头步骤,使用颜色#f7eac5,#f0dcb3,#e5cc9d,#d2ac76。然后用橡皮擦除边缘达到撕裂效果。
Step 41
You can see all the parts in this picture.
你可以看到这张图片的所有部分。

Step 42
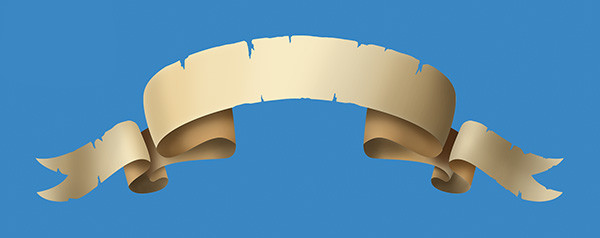
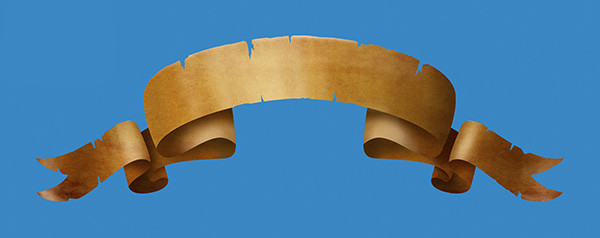
Add the shadows on the ribbon.
增加剪彩条所有的阴影部分。
Step 43
Then add the lights.
然后增加光亮部分。
Step 44
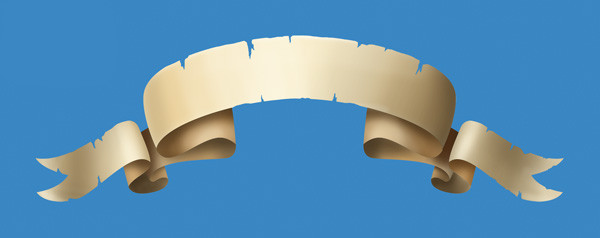
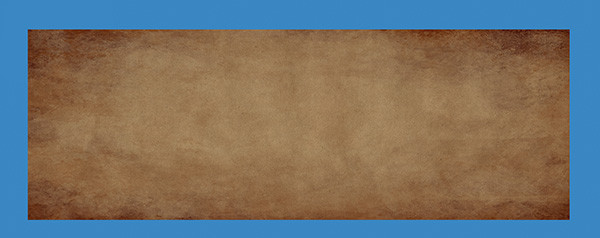
Place the Grunge Paper texture in the document; resize it to fit the ribbon.
导入一张纸张纹理,调整大小以适应剪彩条。
Step 45
Select ALL the ribbon’s shapes with Command/Ctrl + Left Click by clicking on the each layer, invert the selection with Shift + Command/Ctrl + I. Hit Del and deselect with Command/Ctrl + D.
命令shift+左键点击“剪彩条”每一个层,命令shift+ctrl+加左键点击每一个图层形状,得出整体的选框,在纸张层上命令shift+ctrl+I反选,,Del删除,ctrl+D取消选择。
Step 46
Set the “Texture” layer to “Multiply” mode.
设置“纹理”为正片叠底。
Step 47
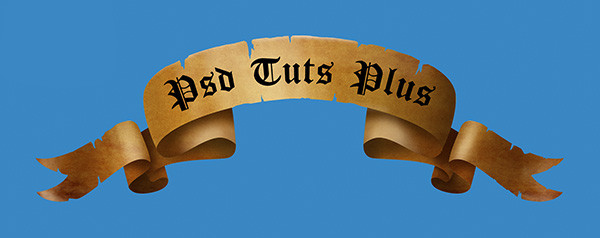
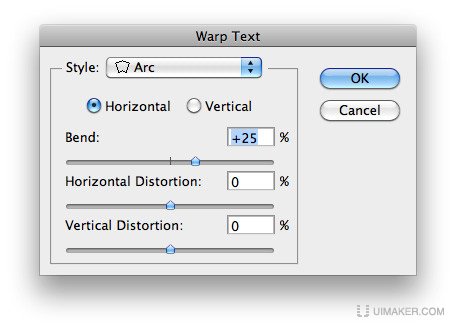
Add some text with the Type Tool (T), I’ve choose the free “Cloister Black” font”.
添加一些文字,点击文字工具(T),我已经选择了免费的“Cloister Black”字体。弧形文字这里,我没有找到变形的效果入口,只能教大家另外个方法,使用钢笔勾勒弧形路径,然后使用文字工具点击路径上添加文字。

Step 48
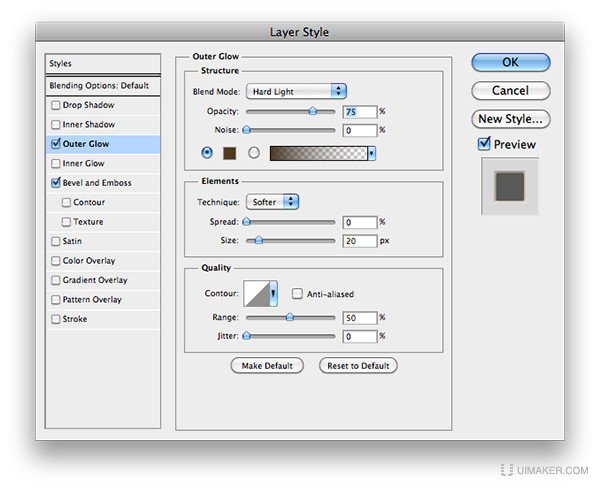
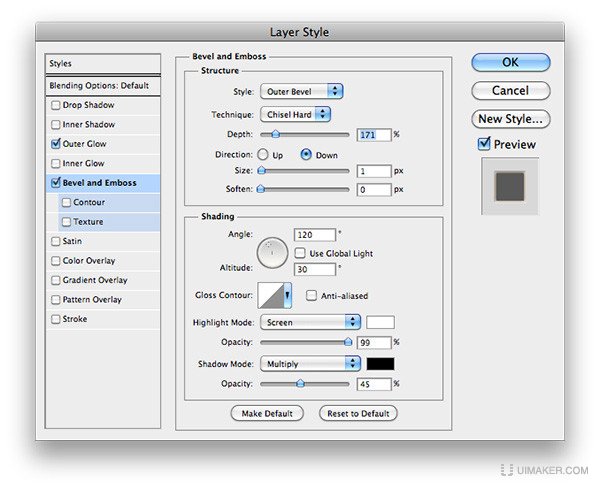
Right Click on the Type layer, then choose Rasterize Type. Add some style on it. Erase some parts with the Eraser Tool (E) using à soft brush.
点击文字图层,右键选择栅格化。给它添加图层样式(看图设置),然后使用软笔刷和相片在上面擦拭下效果。
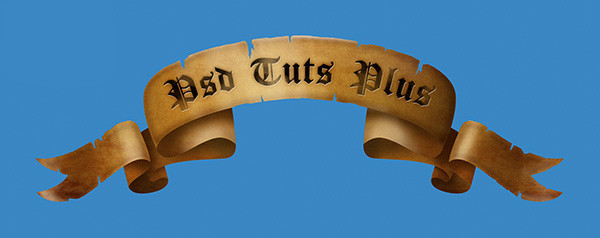
Final Image
最终图像

翻译后感:翻译完这篇教程后,发现讲解的详细度并不是很多,这需要有一定的绘画基础的人,对物(人物和物体)的结构以及光源的理解才能轻松的完成这次的绘制工作。所以这篇中级教程,只是提点了大的步骤过程,手绘的分块流程,可以归纳为一个本体和光影的结合便完成。而快速技巧性的样式很少。这次来锻炼下很久没手绘的童鞋们功夫吧,绘画中自然会有一定的乐趣,在人家的效果图中能够学习动画角色的造型和表现细节。最后期待大家的效果图!~ ^0^~
相关文章
 ps 挖掘机简单画法怎么画?ps中想要绘制一个挖掘机,该怎么绘制呢?下面我们就来看看ps手绘简笔画挖掘机的技巧2023-07-21
- ps怎么画棉花?ps中想要画棉花,该怎么画一朵棉花呢?下面我们就来看看ps手绘棉花矢量图的技巧2023-07-19
- ps怎么手绘一款公告栏矢量图?很多网站能见到公告栏,想要设计一款简洁的公告栏模板,该怎么设计呢?下面我们就来看看ps公告板的画法2023-07-18

ps怎么手绘针织衫? photoshop画面笔画针织衫图形的技巧
ps怎么手绘针织衫?经常使用ps手绘,该怎么画一件毛衣呢?下面我们就来看看photoshop画面笔画针织衫图形的技巧2023-07-11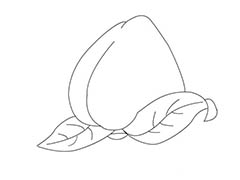 ps怎么手绘简笔画桃子?ps中想要画一个桃子,像是用铅笔随手画出来的效果,该怎么操作呢?下面我们就来看看ps桃子手绘过程2023-04-29
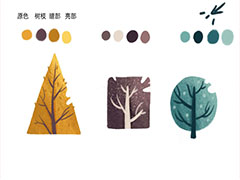 ps如何利用几何形态绘制树?ps中想要绘制树木图形,该怎么绘制呢?下面我们就来看看ps树状图形的绘制方法2023-01-18
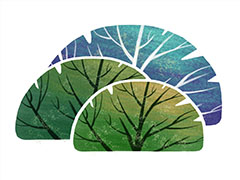 ps怎么手绘简单灌木植物素材?ps中想要手绘灌木矢量素材,该怎么绘制呢?下面我们就来看看ps画灌木植物矢量图的技巧2023-01-18
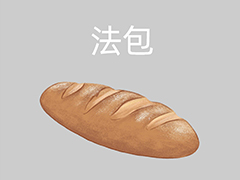 ps怎么手绘法包?ps中想要手绘一款面包,该怎么手绘法包矢量图呢?下面我们就来看看ps手绘板画面包矢量图的技巧,详细请看下文介绍2023-01-18
 ps怎么手绘葵花籽?ps中想要手绘一盘瓜子,该怎么画葵瓜子呢?下面我们就来看看ps用手绘板绘画一碟葵瓜子的技巧2023-01-18
 很多新手不知道如何使用PS画笔绘制绿色的大地,本文就为大家带来了详细的教程,需要的朋友一起看看吧2022-05-07


最新评论